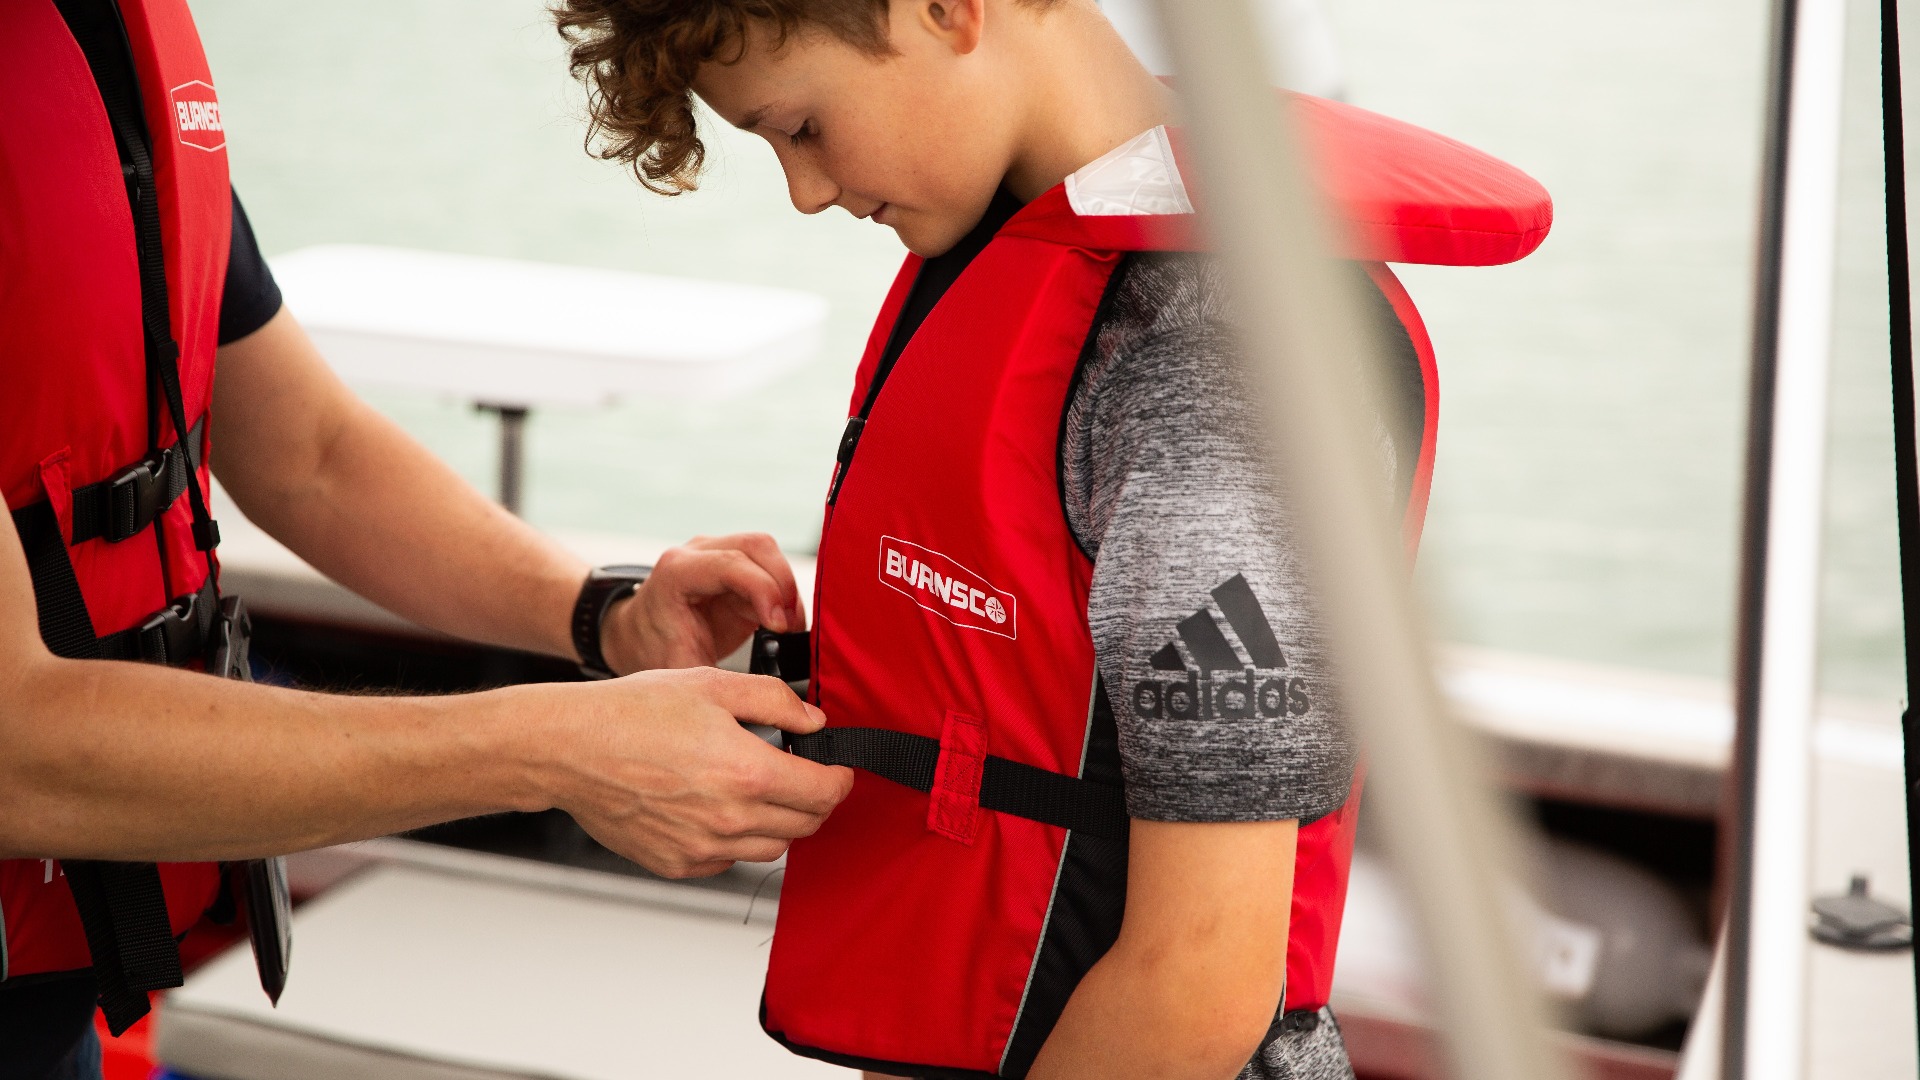
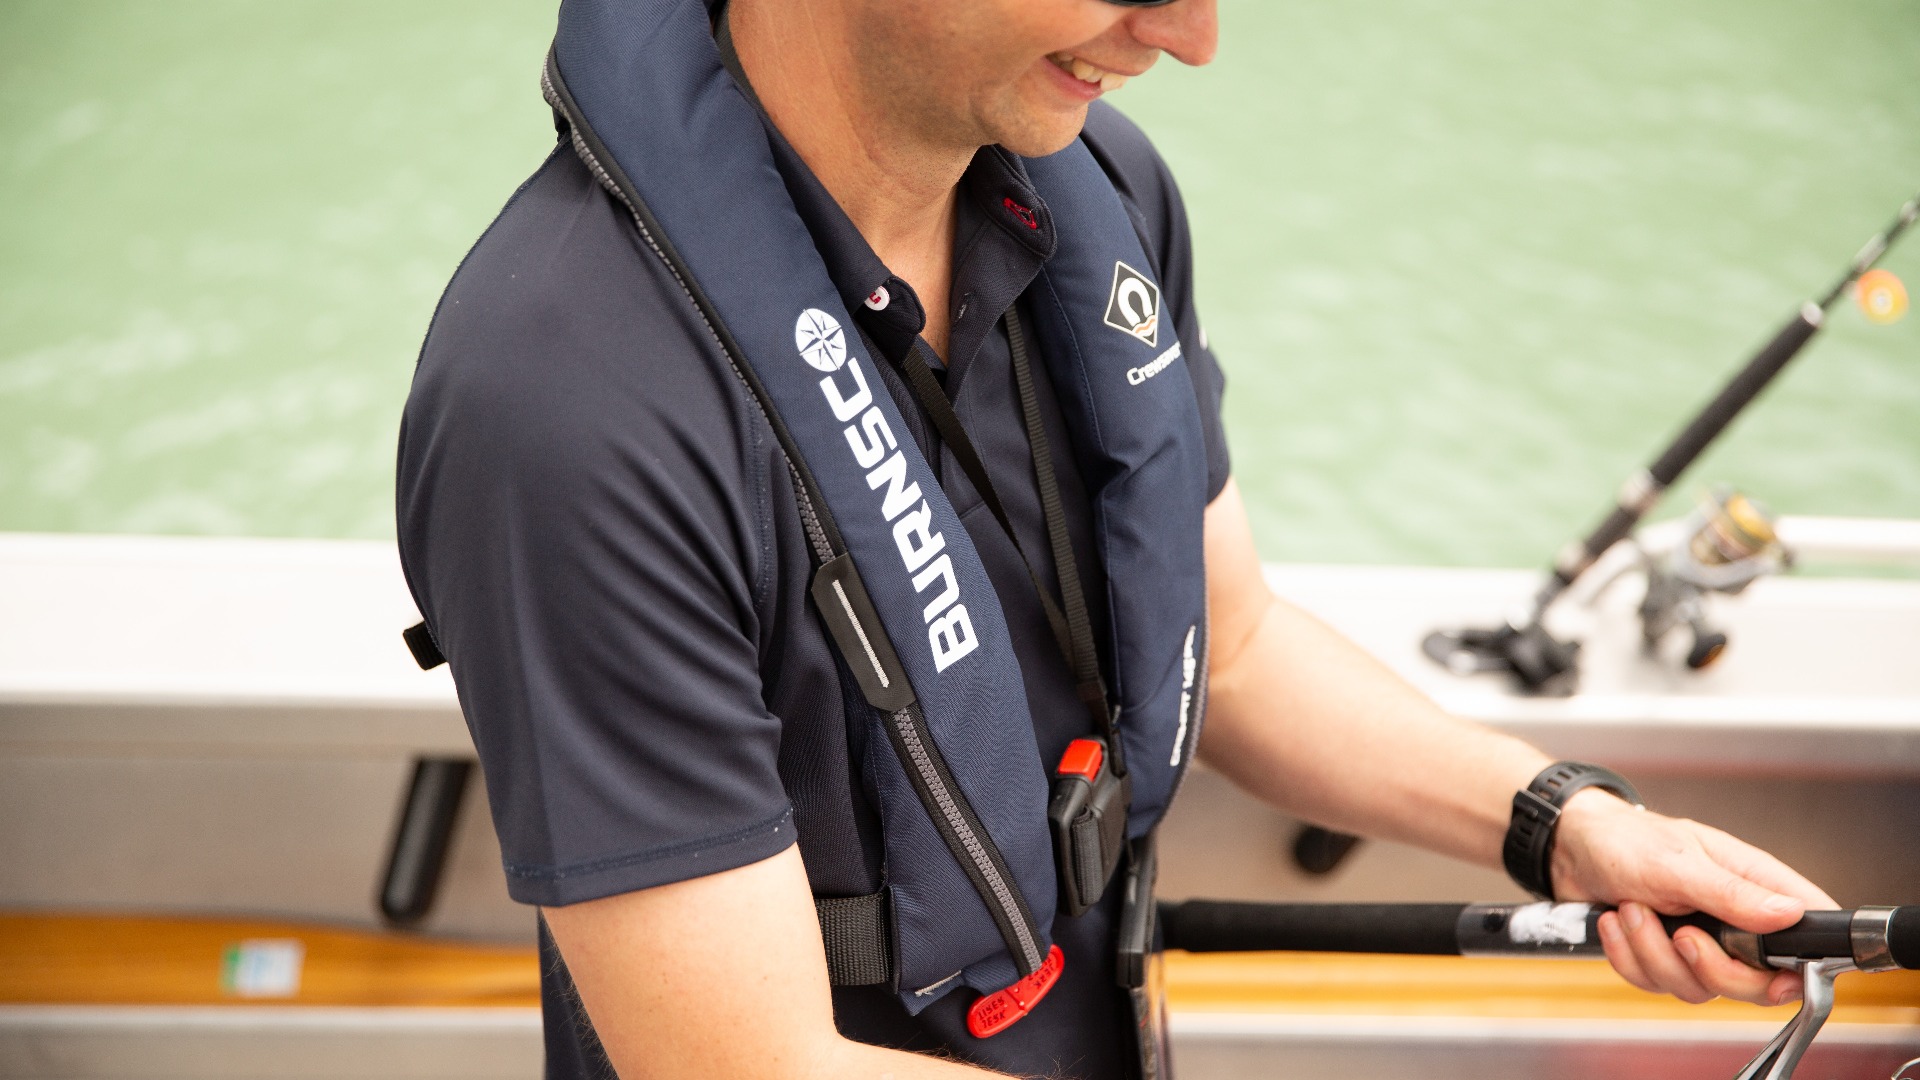
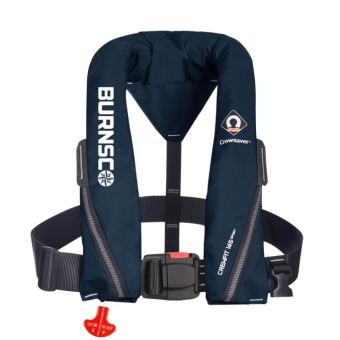
A lifejacket is a key piece of safety equipment when out on the water. However, inflatable lifejackets need regular check-ups to make sure you and your family stay safe. We recommend doing these checks at least once a year.
Steps
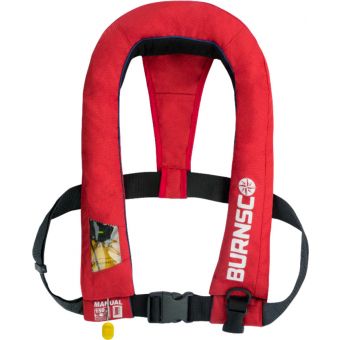
1: Perform a visual inspection
Open the cover of the lifejacket, and check the condition of the following:
- Bladder (is secured to outside cover and welds show even colour)
- Oral tube (for back up inflation if CO2 Cylinder didn’t activate)
- Whistle
- Light is operational and within expiry date (or attach one as an extra safety feature: UPC 33491)
- Stitching
- Webbing
- Buckles
- Reflective tape
- Velcro
- Zips
- Crotch strap
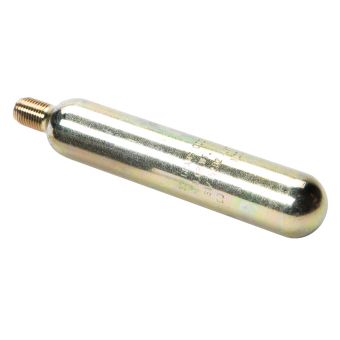
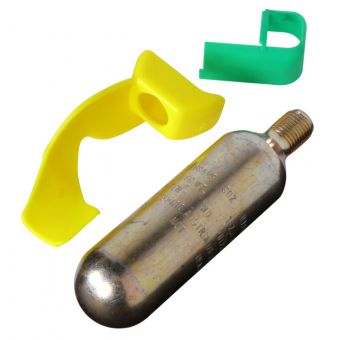
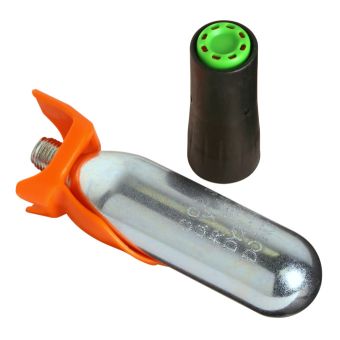
- CO2 Cylinder (ensure the cylinder is fully tightened, and replace every 12 months if you see signs of corrosion/rust on cylinder)
- Indicators are both showing green on the firing mechanism (Automatic Lifejackets)
See video below on how to carry out these visual checks on your lifejacket
2: Check the bladder is not leaking
Inflate the bladder using the oral tube (with a pump, not your mouth, so bacteria and moisture are not blown into it). Whilst inflated, put the oral tube in fresh water to ensure there are no air bubbles. Leave the lifejacket overnight (minimum of 12 hours) and check the bladder is still inflated and firm the next day. Deflate your lifejacket using the oral tube cap, press to ensure all air is removed and the cap is put back on. If the lifejacket shows any signs of deflation, do not use and you will need to either replace your lifejacket or get it serviced.
3: Inspect the firing mechanism for corrosion or damage (Manual & Automatic)
- Unscrew the CO2 Cylinder and check the seal is intact, ensure the green retaining clip is removed (if applicable)
- Once both are removed, pull the cord to test the lever. Check there is little to no resistance and there’s no damage to the cord
- Check the top seal is in place of the firing mechanism (where the cylinder screws in)
4: For Automatic Lifejackets Only - inspect the Automatic Activator (capsule) and Firing Mechanism
- Remove the activator (capsule) and check it’s clean and dry
- Check the bottom piston of the firing mechanism by pressing it in and out, again ensure there is little to no resistance
- Check there is a cap at the bottom of the activator
- Check the activator is within its expiry date. You will need to fit a new one if it is expired
5: Check the capacity of the CO2 Cylinder
Weigh the cylinder on a set of scales that’s accurate to 1 gram. Compare this result to the weight listed on the side of the cylinder. If the weight is accurate, refit the cylinder as per the manufacturer's instructions, otherwise replace with a new CO2 Cylinder.
6: Replacing the CO2 Cylinder/ Automatic Activator
When it is time to replace the CO2 Cylinder/ Automatic Activator in your lifejacket, you can buy individual re-arm kits from Burnsco. Just ask one of our friendly staff if you need advice on choosing the correct re-arm kit for your lifejacket model.
7: Re-arming your Inflatable Lifejacket (Manual & Automatic)
Refer to the manufacturer’s instructions which came with your lifejacket.
See video below on how to re-arm your lifejacket
8: Re-packing your Inflatable Lifejacket
Refer to the manufacturer’s instructions which came with your lifejacket otherwise, follow these guidelines:
Make sure your lifejacket is clean, dry and the CO2 Cylinder and Automatic Activator (if applicable) is secured tightly and armed correctly.
See video below explaining how to re-pack your lifejacket
Do you have any questions?
Please, contact our friendly team on 0800 102041 or email: website@burnsco.co.nz
We provide general information on products, not personal advice. Always seek the help of a relevant tradesperson if you have a technical query