Having a proper fridge in your camper really takes your off grid capabilities to the next level. With food staying fresh for longer and less trips to the store needed, you’ll have more time to spend cooking, relaxing and enjoying the outdoors. This is why most recreational campers choose a good quality 12V compressor fridge for their camper, caravan or motorhome.
Our handy guide to you up to speed on campervan fridges can be found HERE. Check it out before continuing with the installation guide.
Overview:
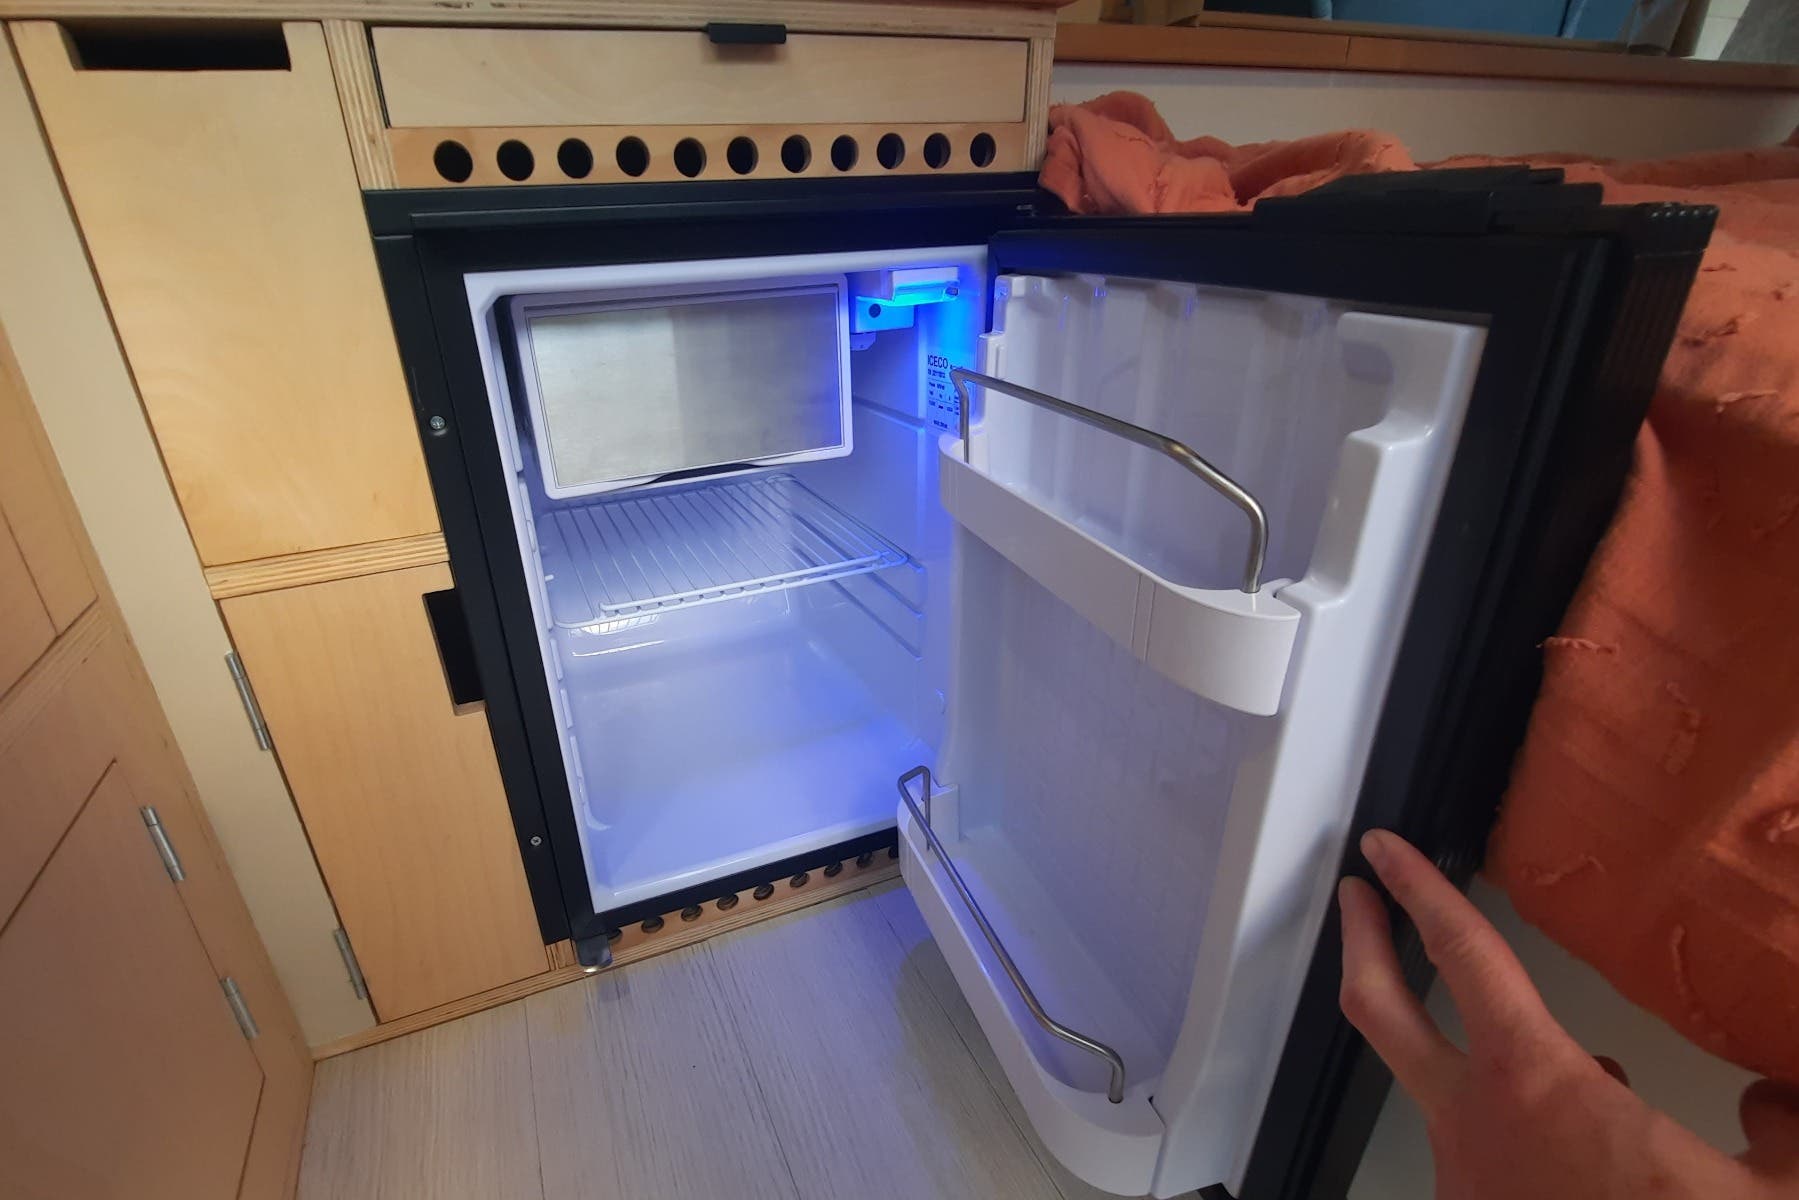
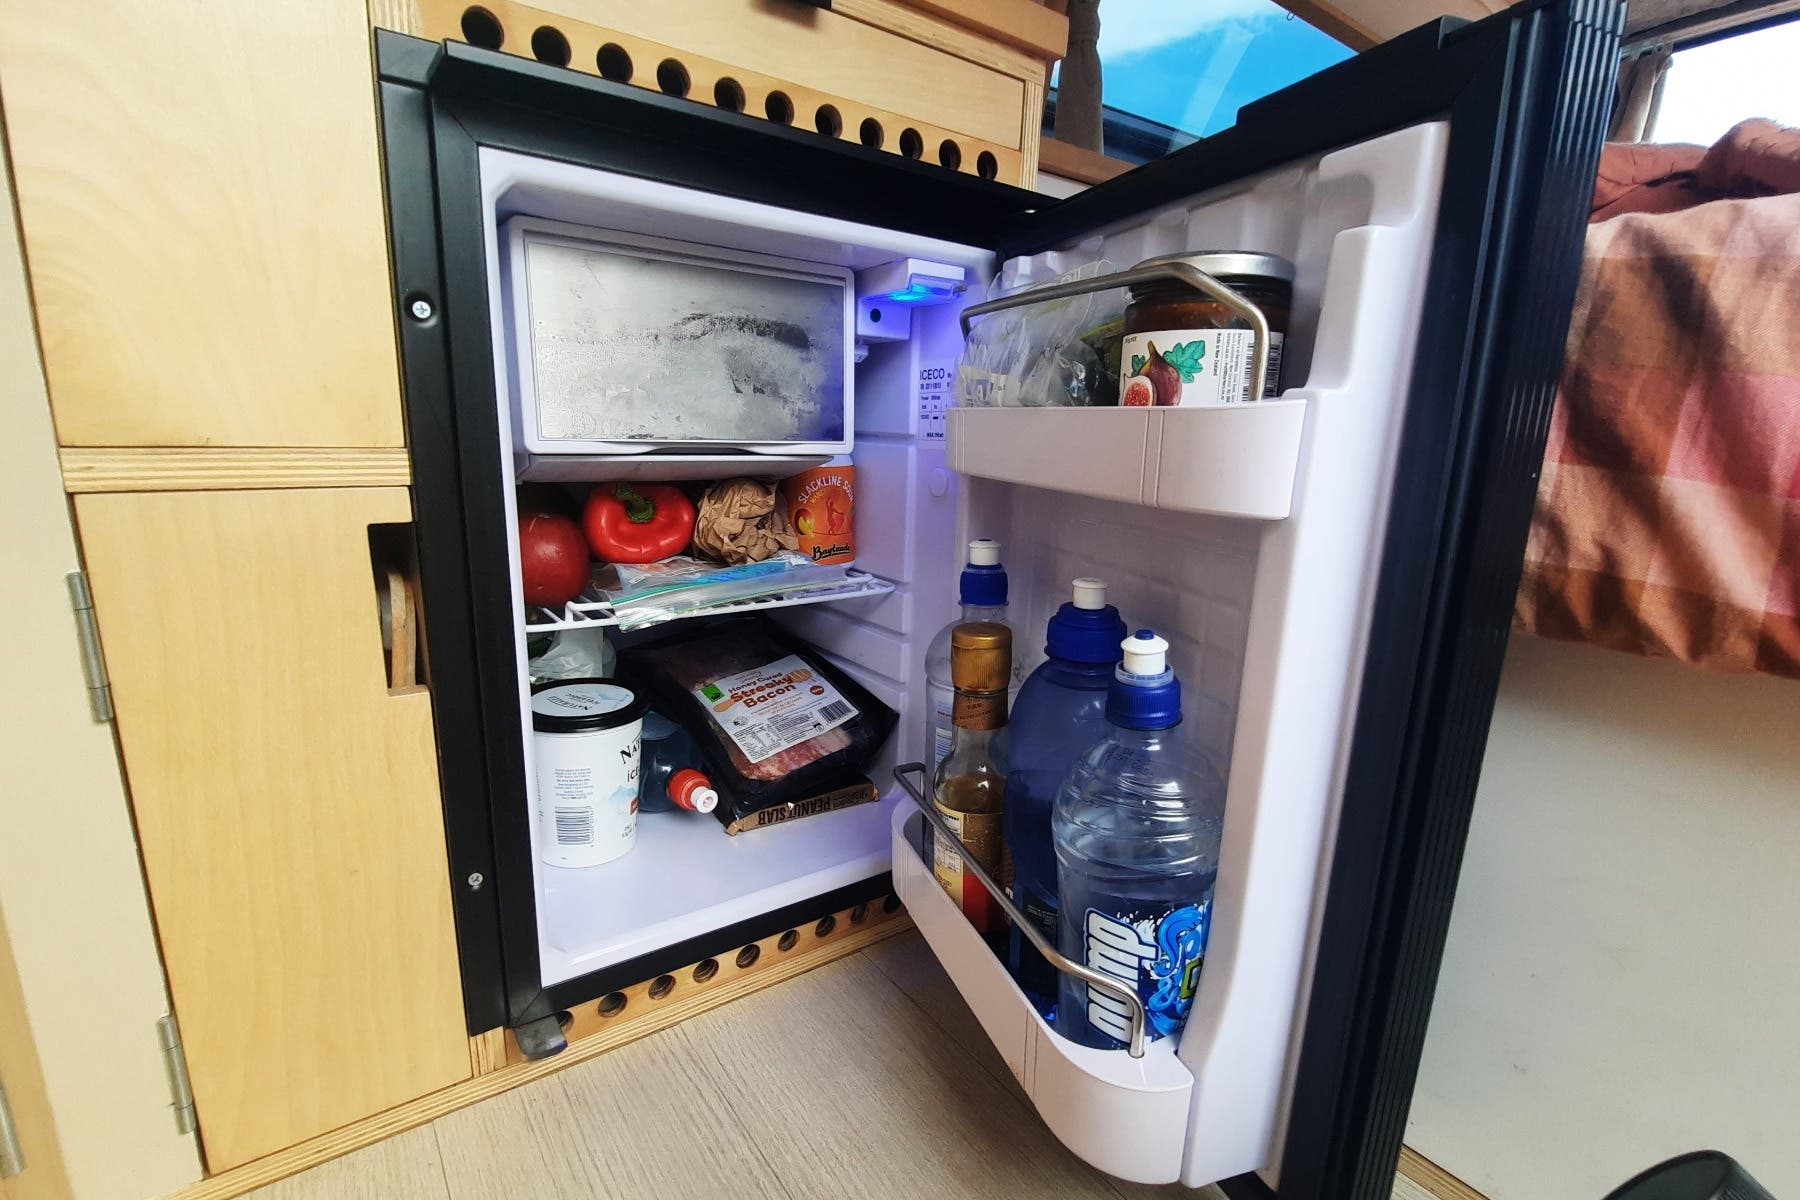
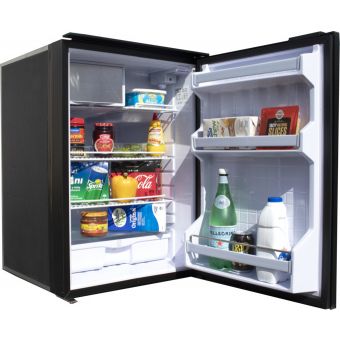
In this guide, we are installing an Iceco 49L Fridge/Freezer into a Toyota Hiace with custom plywood cabinetry. These fridges are extremely efficient, and the 49L capacity means there is enough room for up to a week's worth of fresh food. The installation of this fridge type is extremely simple, with only a few electrical connections needed and no previous experience required at all. Here’s how to do it!
You’re going to need:
- 12V Fridge
- Electrical wire/cable
- Connectors
- Fuse
- Basic tools - pliers/spanners/screwdrivers etc
You don’t need much to install a new fridge into your camper. If you already have an existing setup, installing a new fridge is extremely simple!
Step 1: Mounting Location
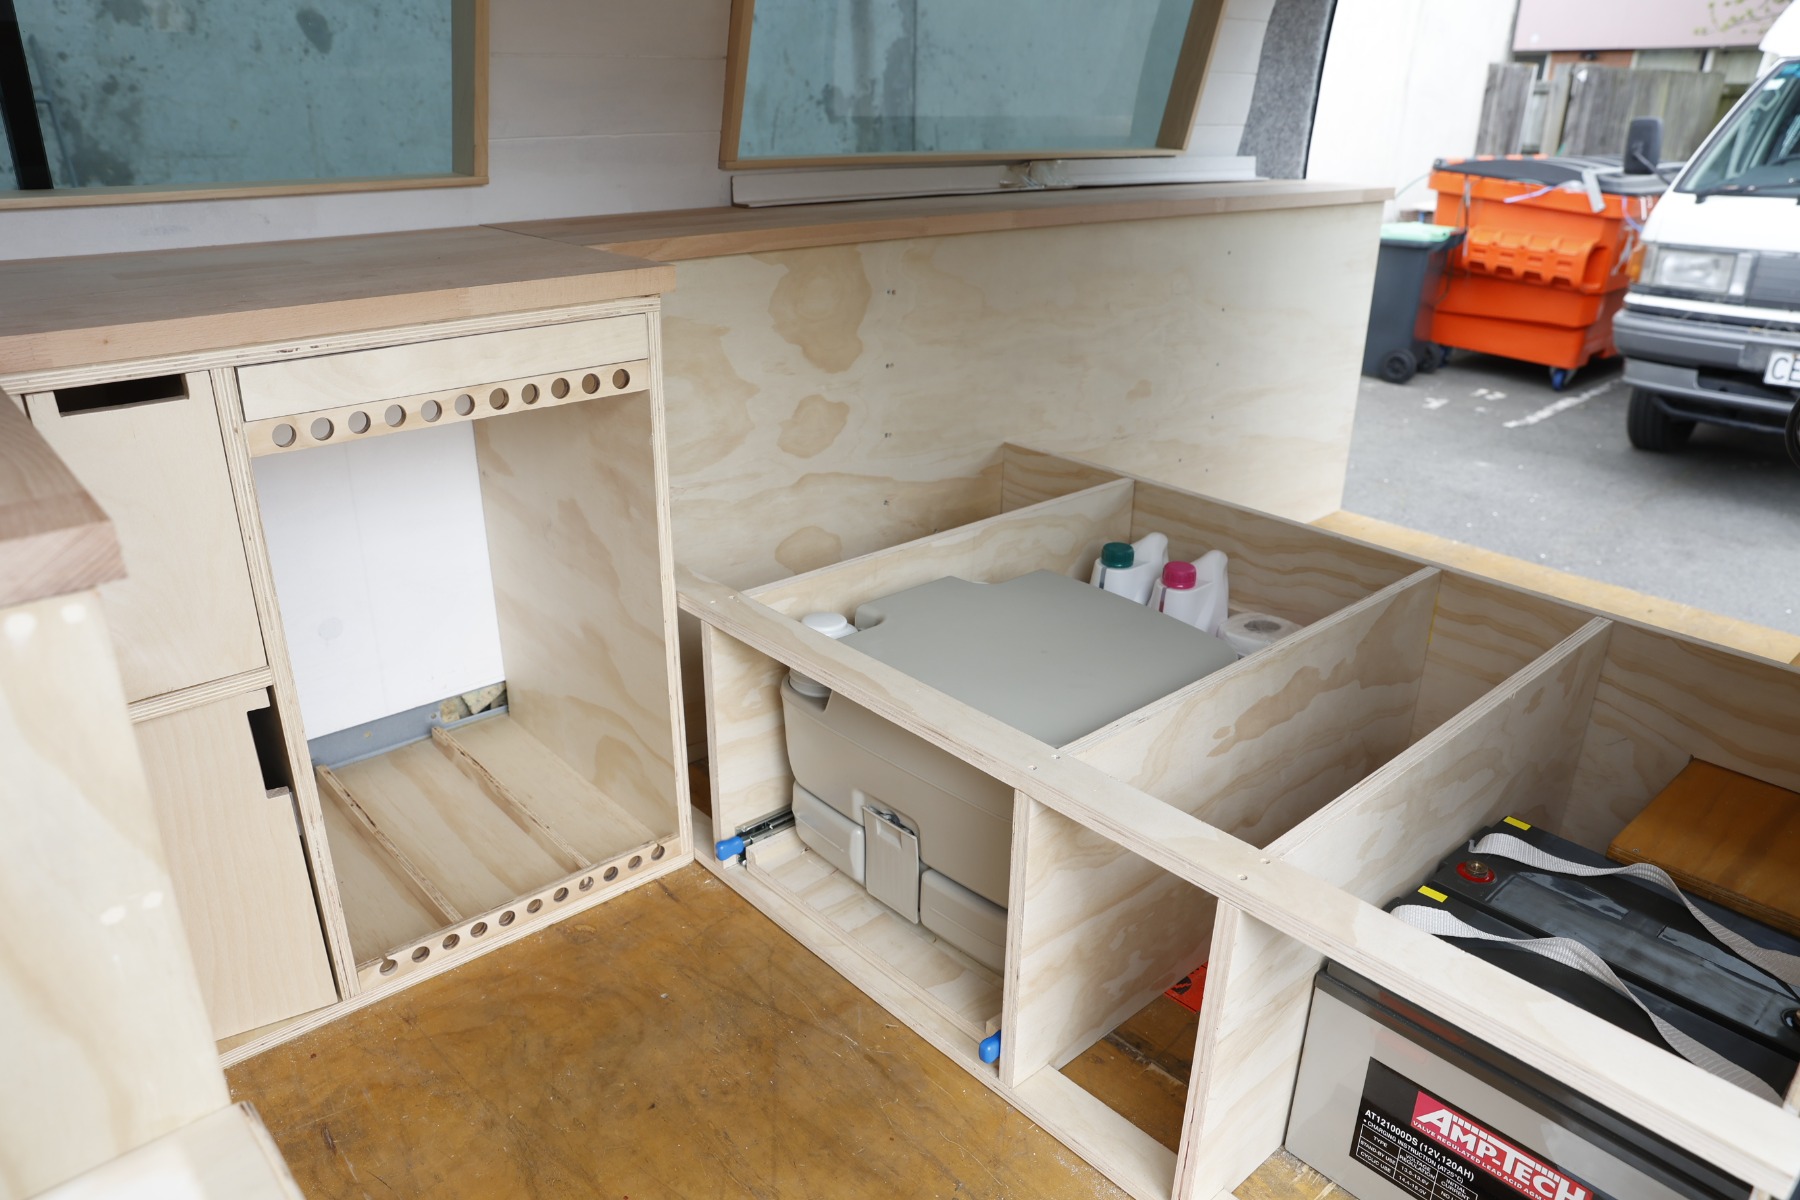
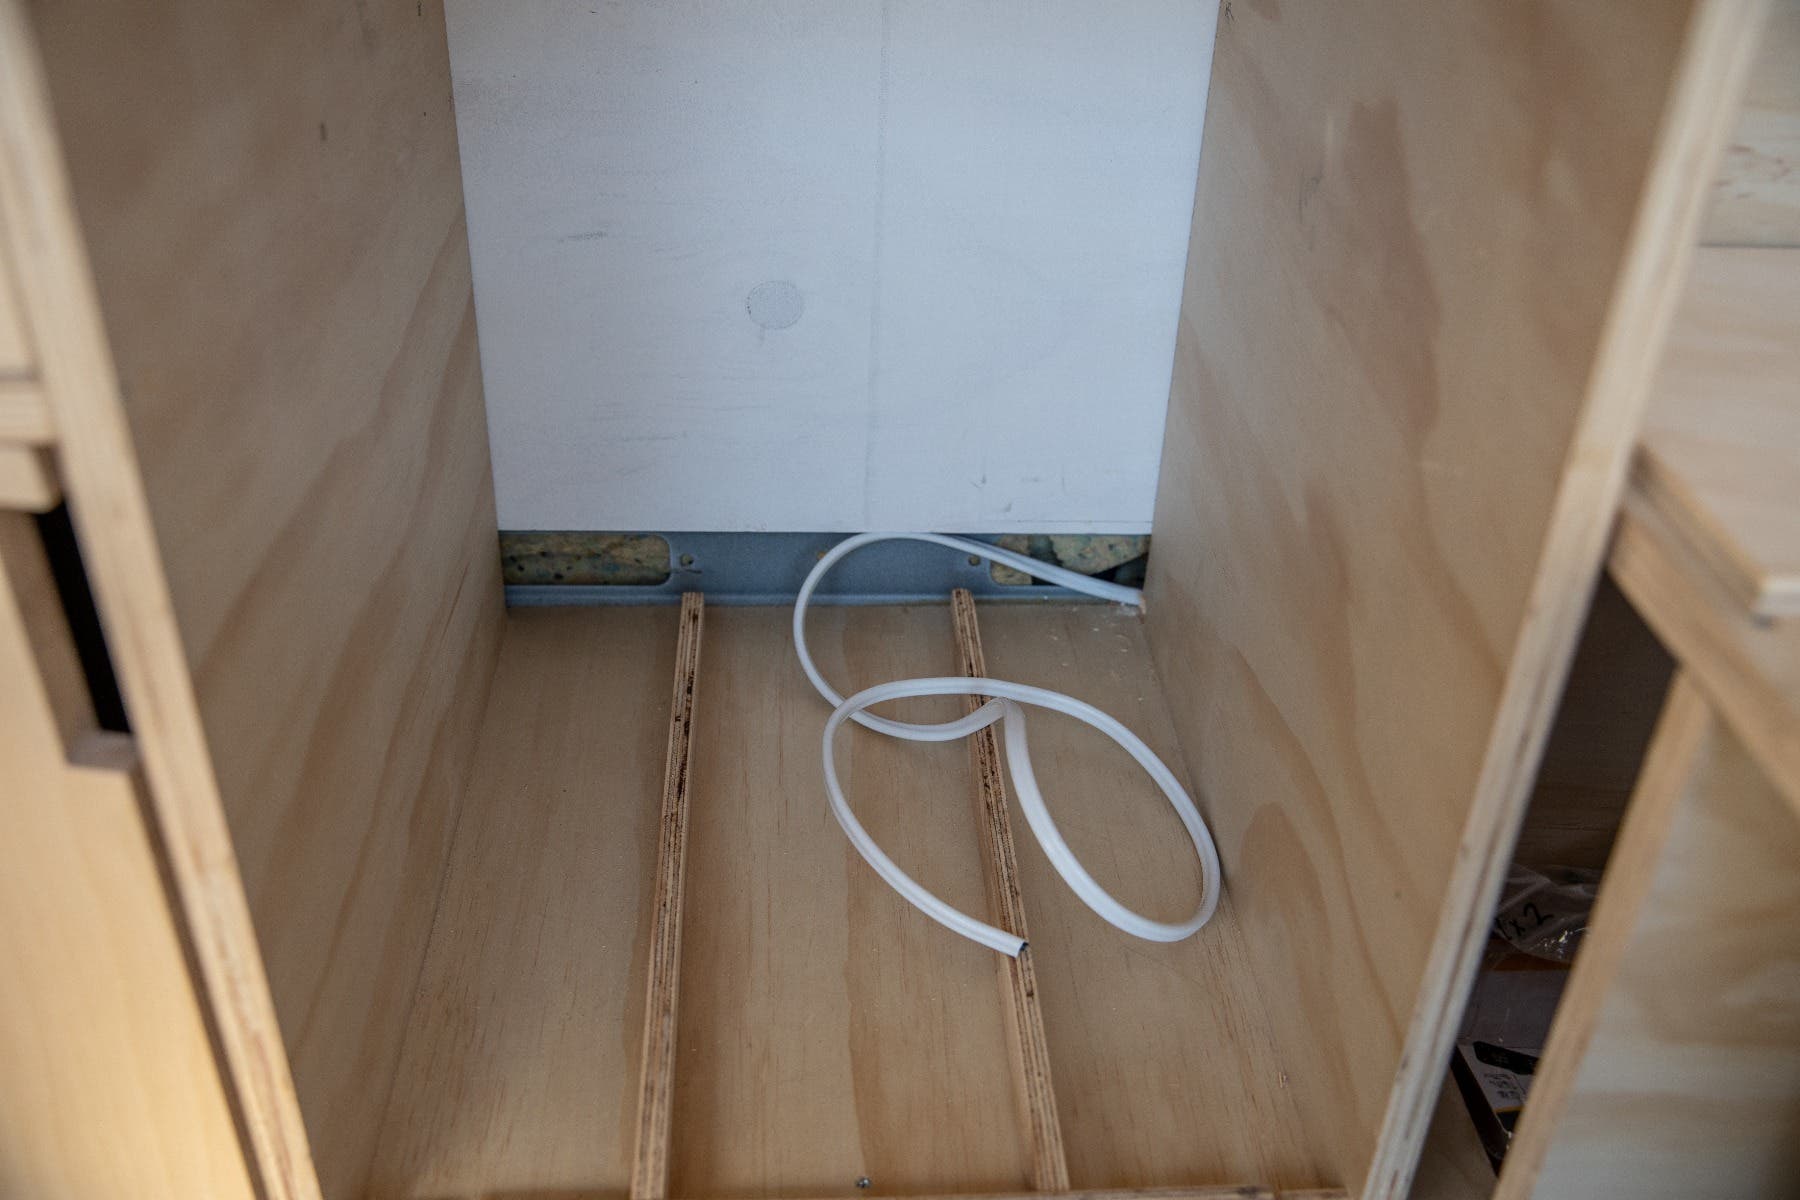
As with everything else in a campervan, deciding where things will live is the first step. Keeping the vehicle’s weight balanced and the overall functionality of the vehicle are important things to consider. For our application, the cabinets have been built specifically with this fridge in mind. The supports of the cabinet box in the fridge on the sides, and the depth of the cabinet and bench allows for some breathing space between the vehicle wall and the back of the fridge. Airflow is important to help the fridge keep as cool as possible - with some spacers to raise it off the floor and vent holes both above and below, hot air is able to escape from the back of the unit.
Our fridge is located on the opposite side of the vehicle to the battery bank, but due to it only being a small campervan, the distance of wire needed is around 2 metres. If you’re installing a fridge in a larger caravan or motorhome, consider the distance between the fridge and its power source - the greater the distance, the thicker the wires and the more chance of voltage loss.
Step 2: Wiring To The Fridge
Now comes time for the most difficult part of the install - connecting the wires (don’t worry, it’s super simple!). In our installation, a secondary battery bank has already been set up which is where the power for the fridge will come from. Find out how to do this yourself with our Battery Guide and Step by Step Installation articles.
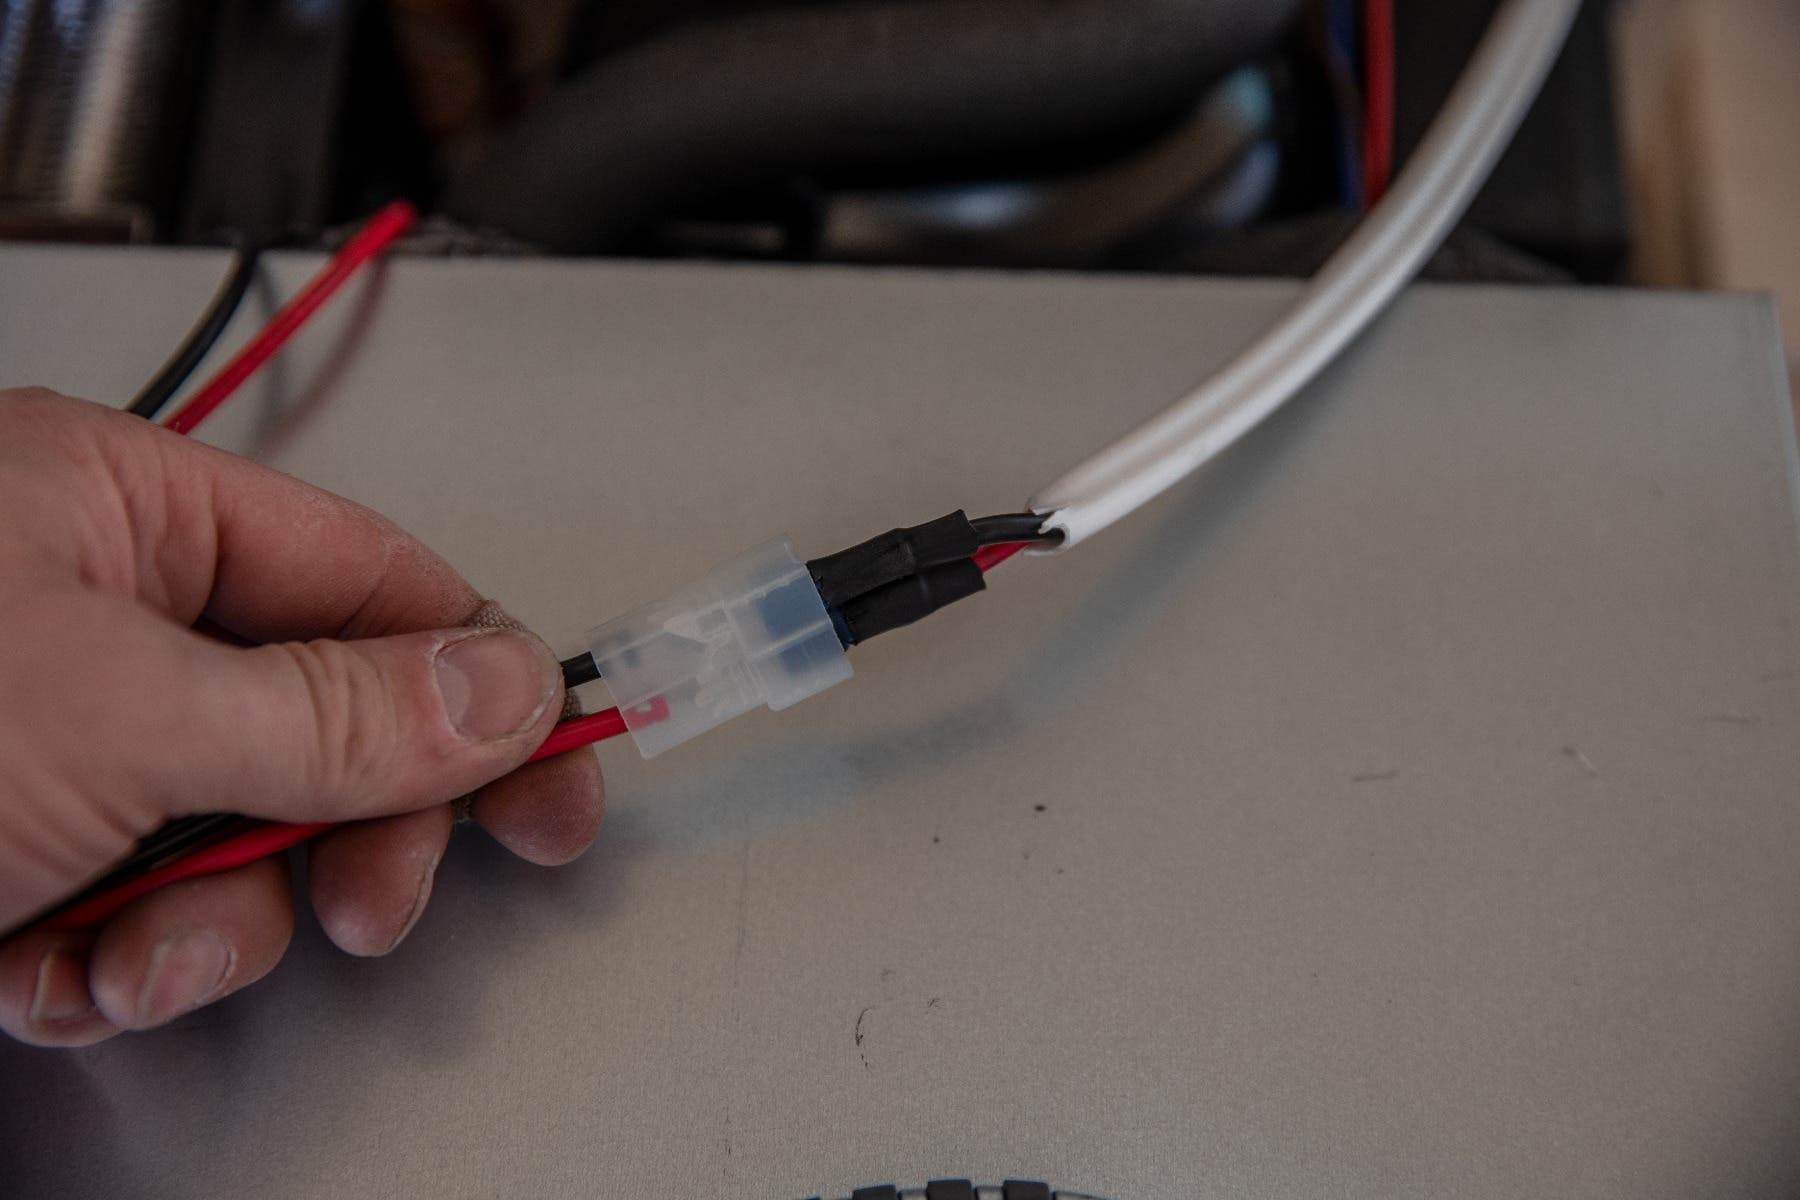
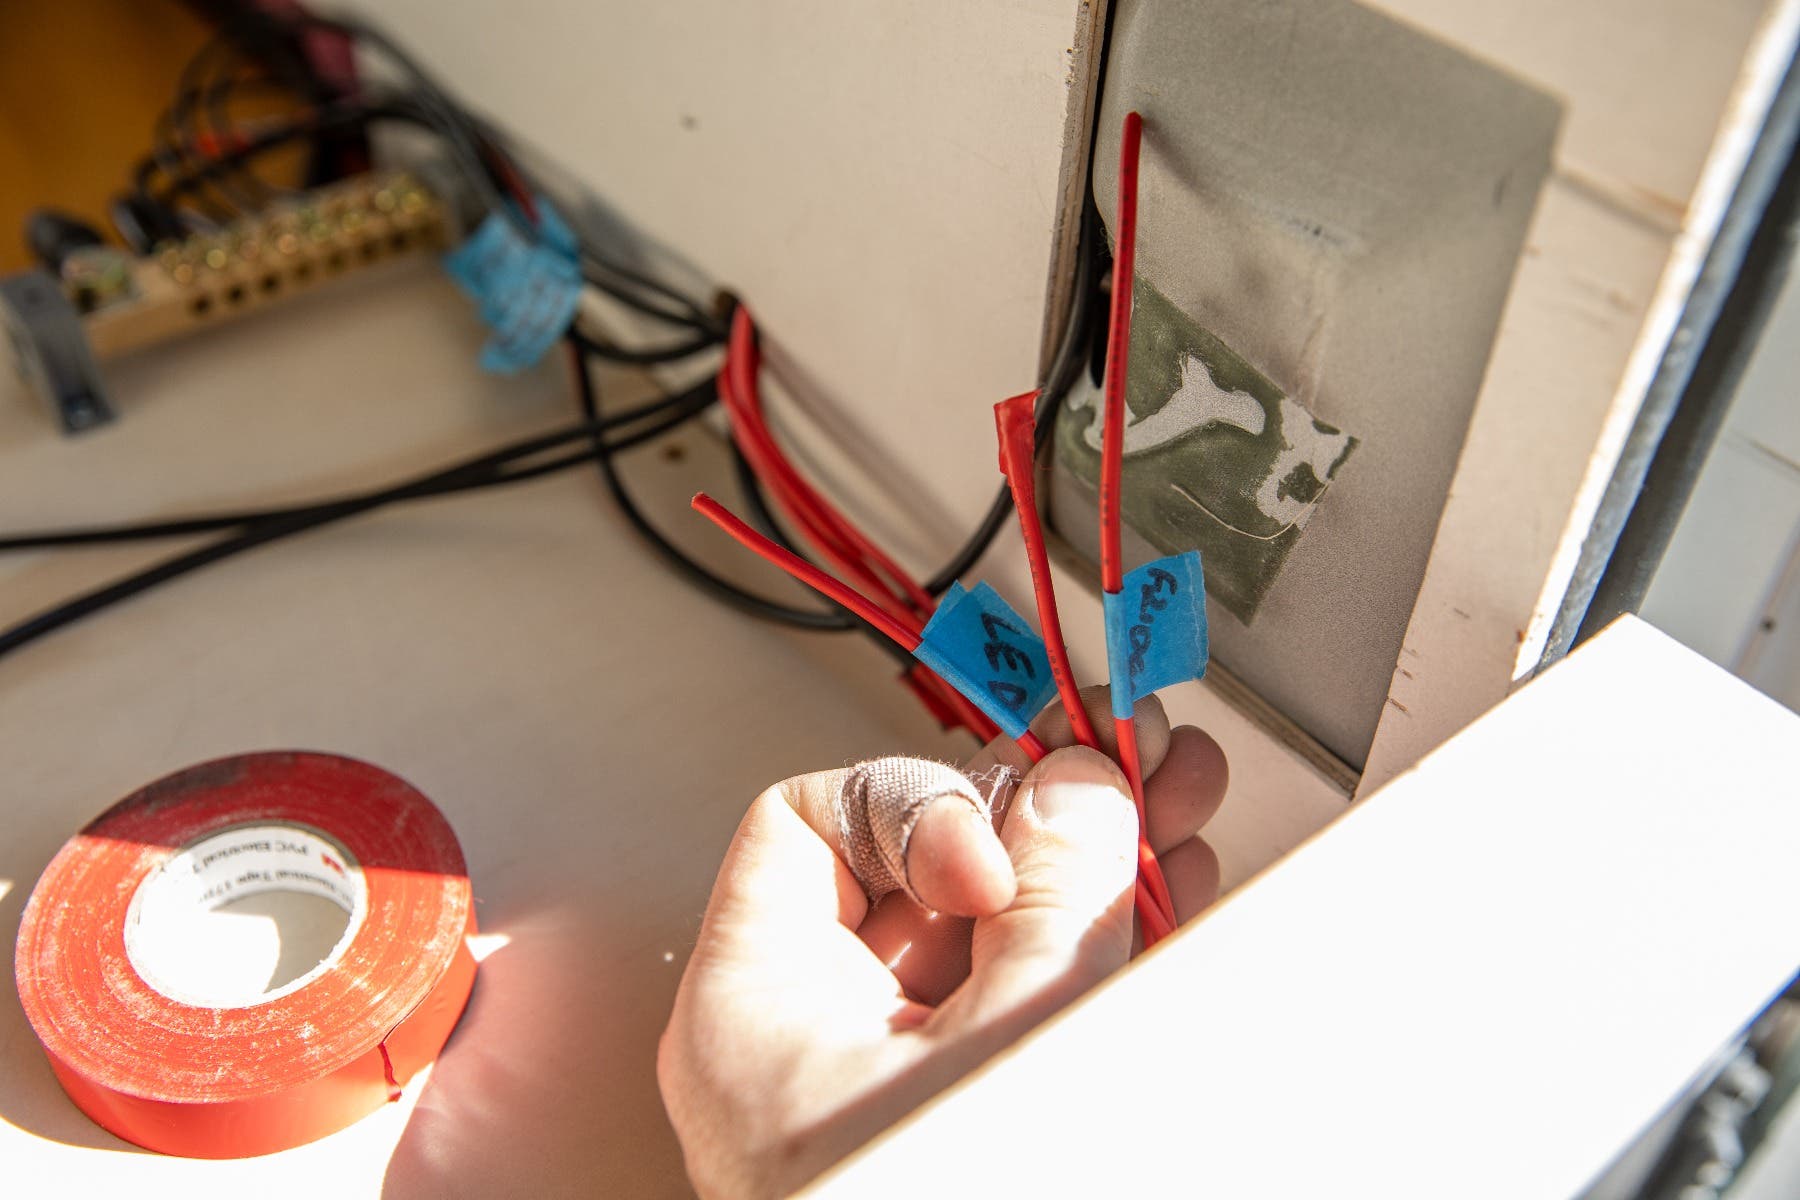
Our first step was to run a positive and negative wire from our battery area to behind the fridge. We’re using some 5mm twin core cable that has an extra protective coating. Some excess wire is left to make it easier to connect the fridge and move it in and out of the mounting position.
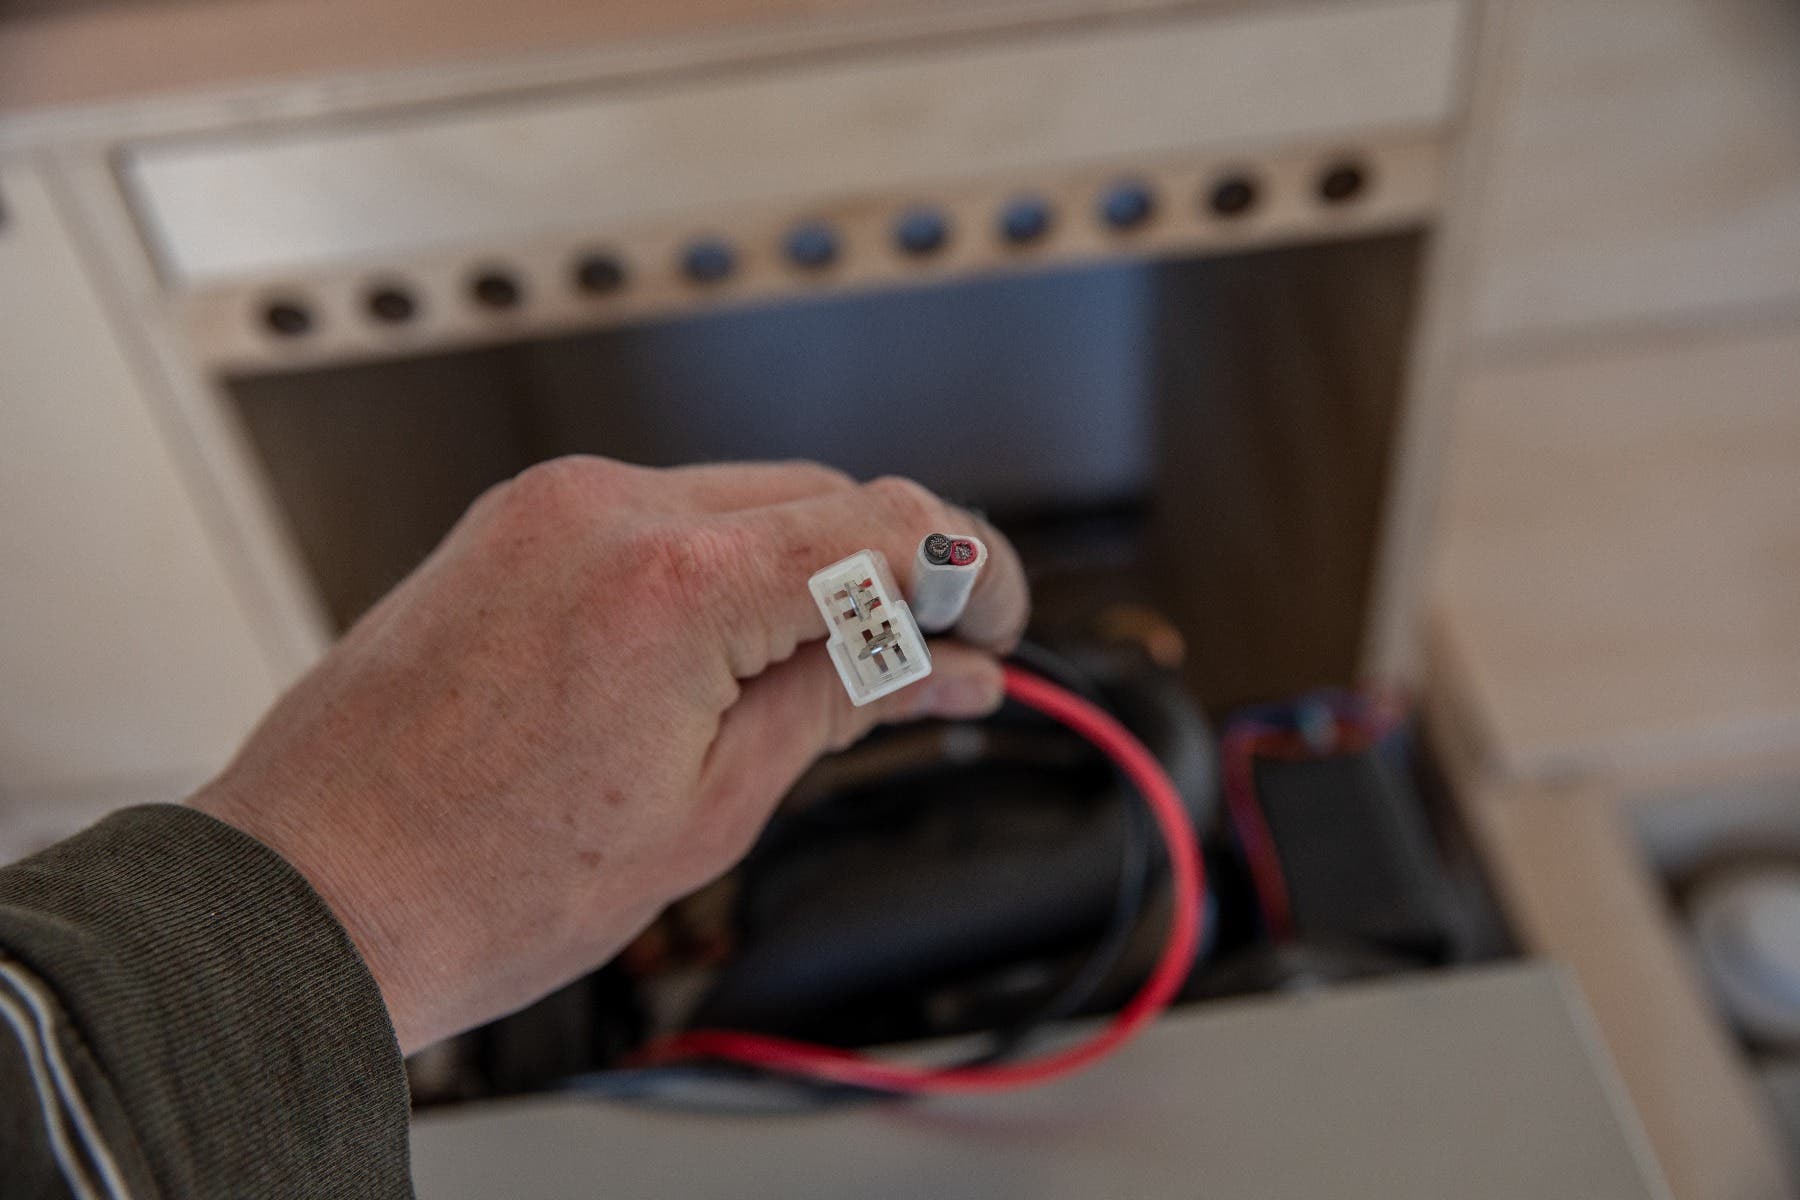
Like with every other 12V DC component, the fridge only has a red and black wire coming from it. These have a plug on it to enable the fridge to be removed without cutting wires. Unfortunately we didn’t have the female side to the plug, so some simple female blade connectors were used. With the connectors crimped to the end of our twin core cable, we can attach it to the fridge’s plug.
With the wiring connected up to the back of the fridge, it’s a simple matter of sliding it into place and securing it on the sides using the 4 screw holes.
Step 3: Wiring To The Battery
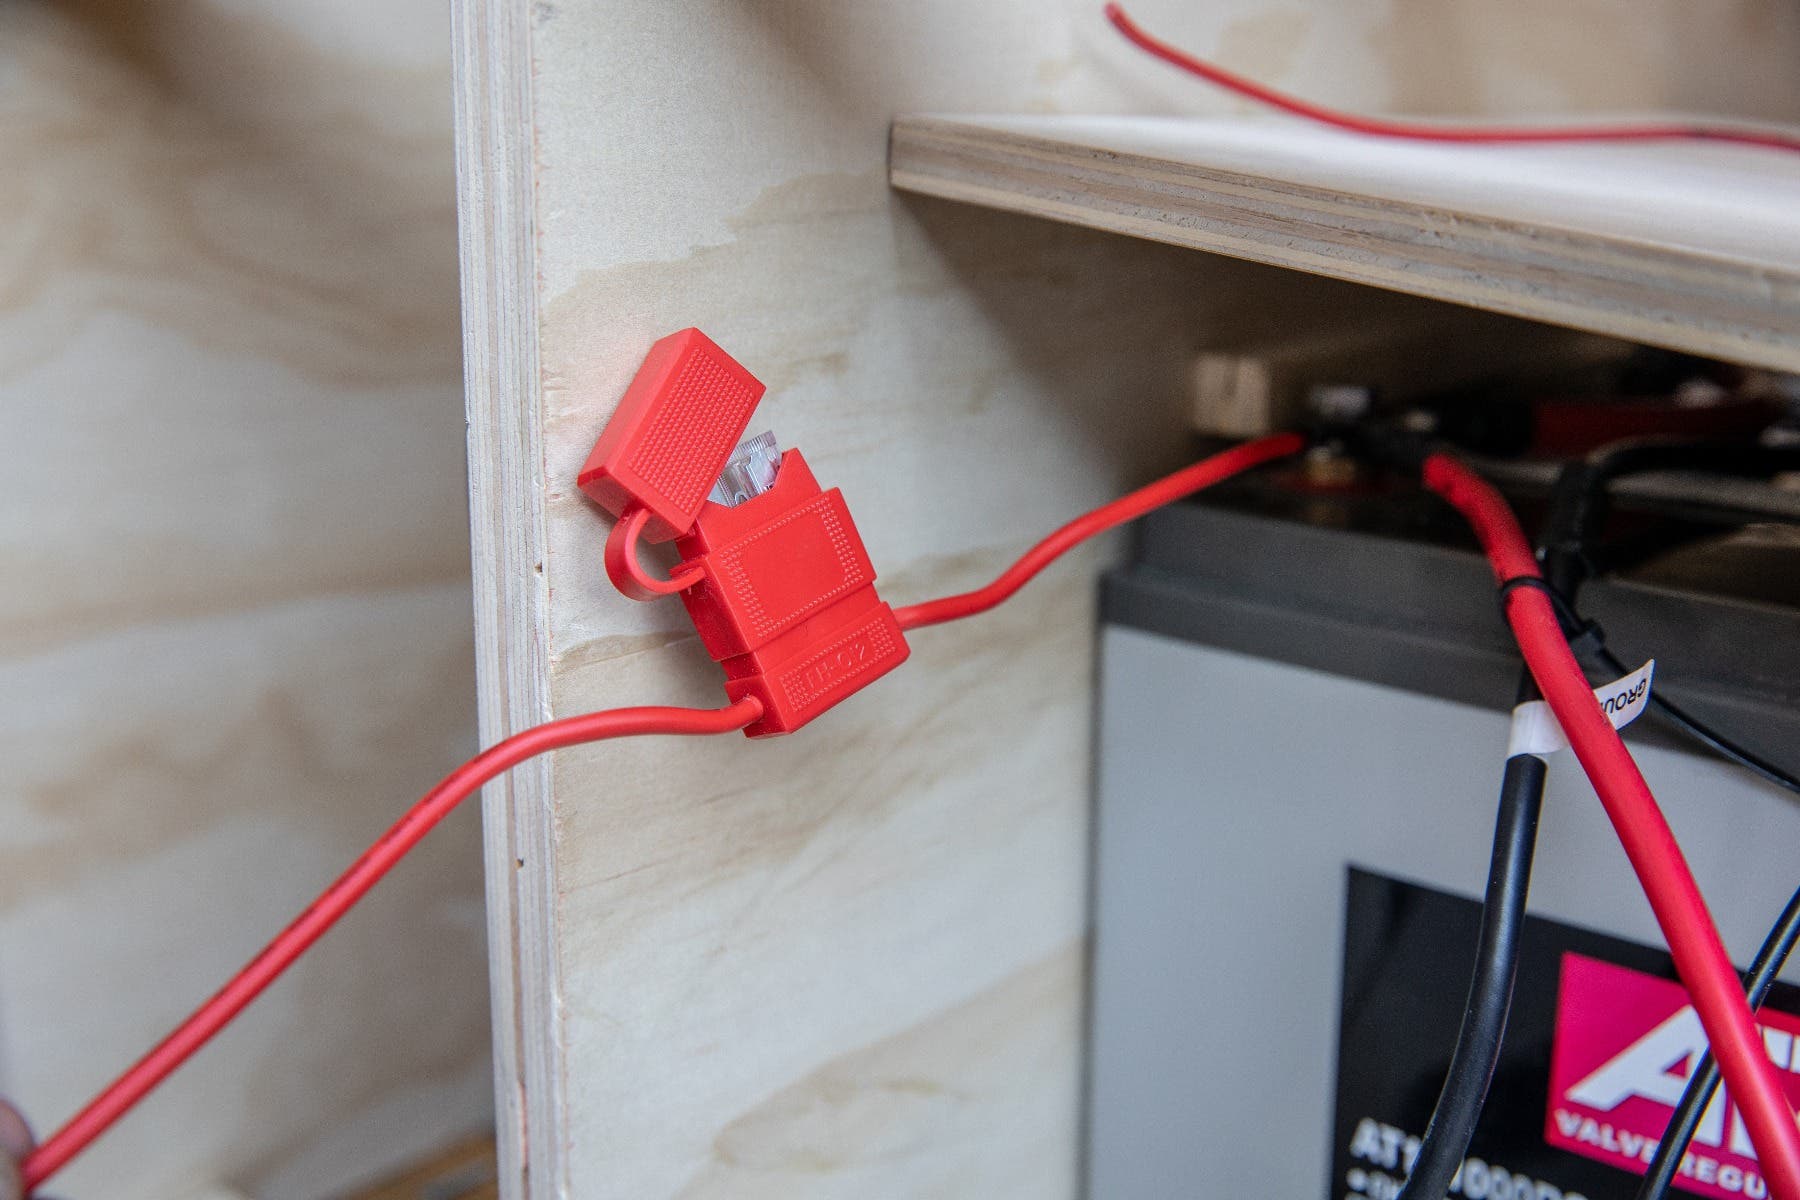
The last step is to connect your wires from the fridge to a battery. There’s a few different ways to do this, but because our whole van fitout was happening from scratch we’d already planned to run the fridge to the switch/fuse panel. An alternative method is to ‘hardwire’ the fridge straight to the battery - Install an in-line fuse on the battery’s positive terminal, then connect the fridge’s positive wire to the other end. The negative wire connects to the negative terminal of the battery or the common ground/bus bar/vehicle chassis.
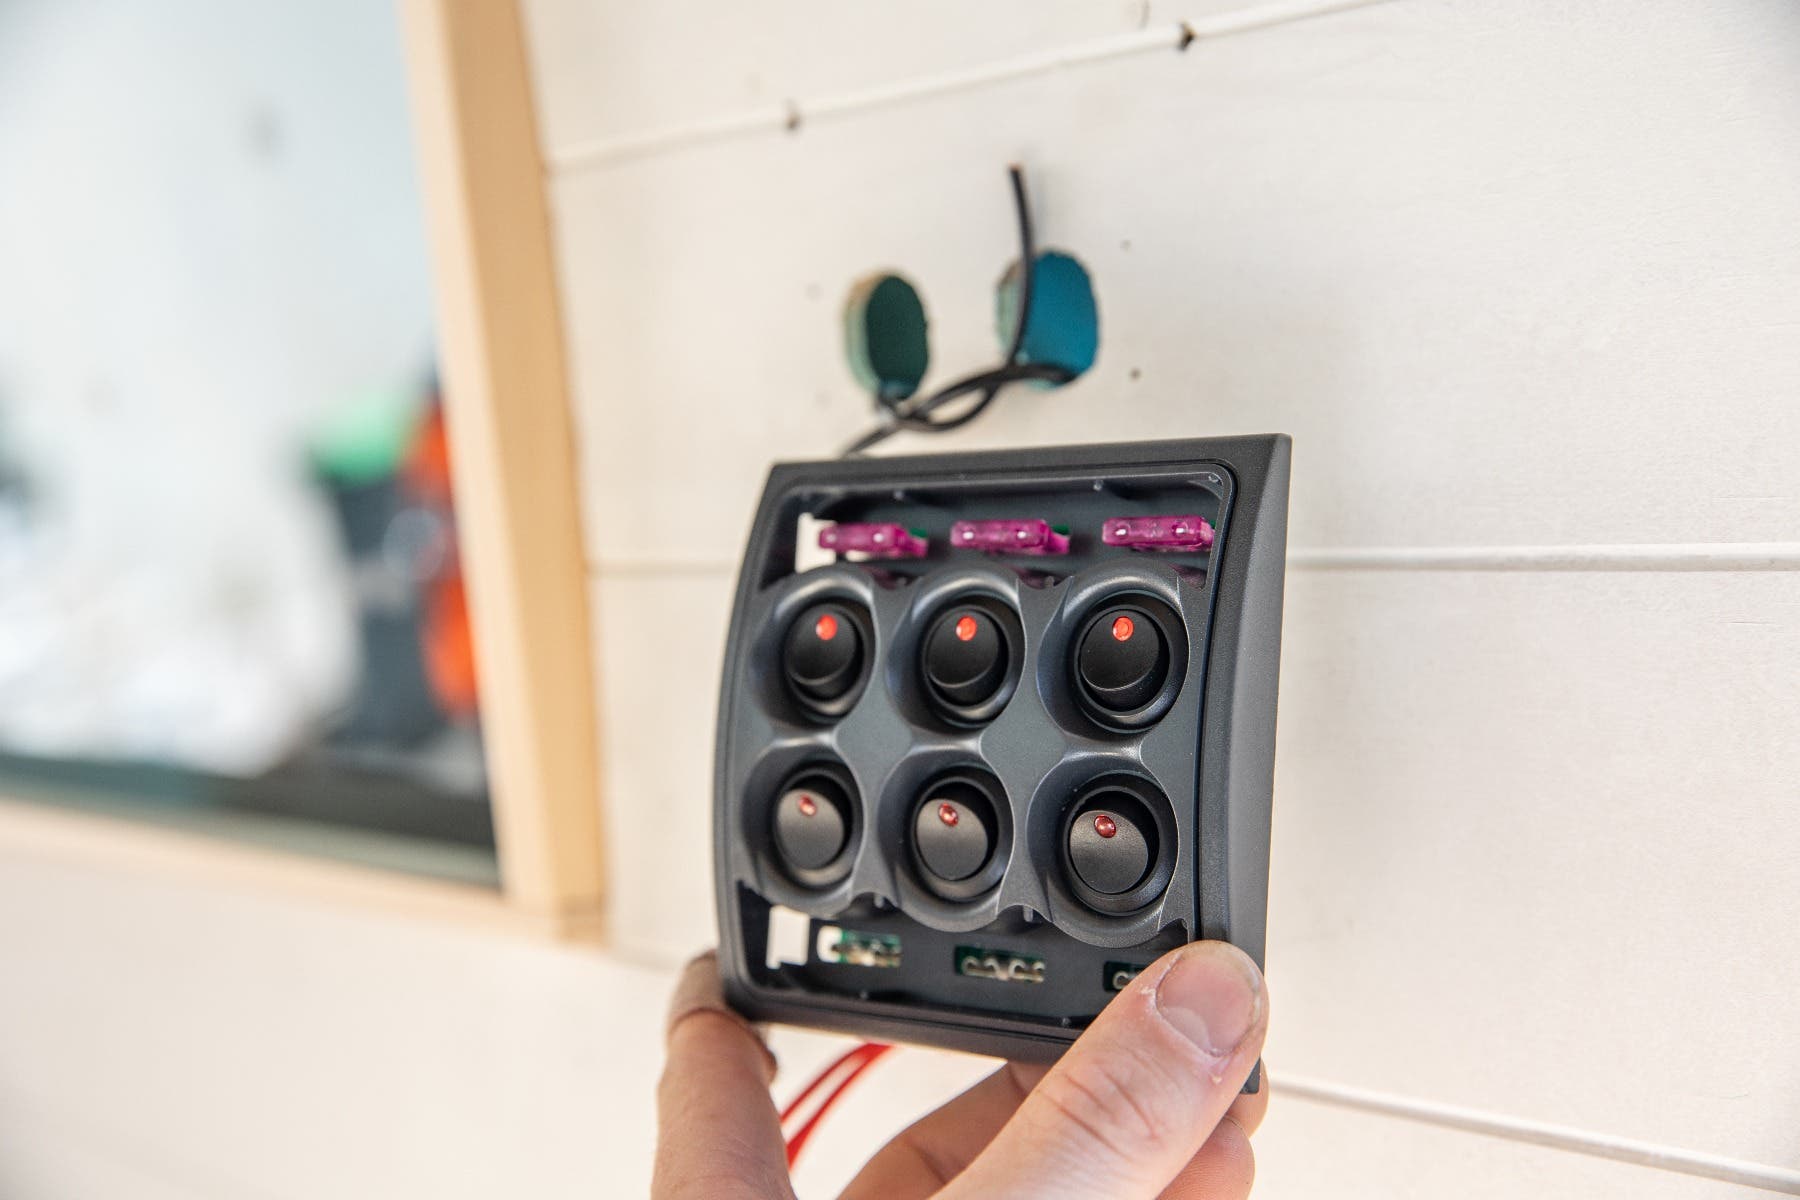
For our installation, the negative wire still connects to the battery’s negative terminal or the common negative bus bar. The fridge’s positive wire needs to be connected to the switch panel that will be mounted in the wall of the van. We’d already connected the switch panel’s main positive and negative wires, providing power to the unit. With all the positive wires from the 12v components connected to the back of the switch panel, it could be secured to the wall.
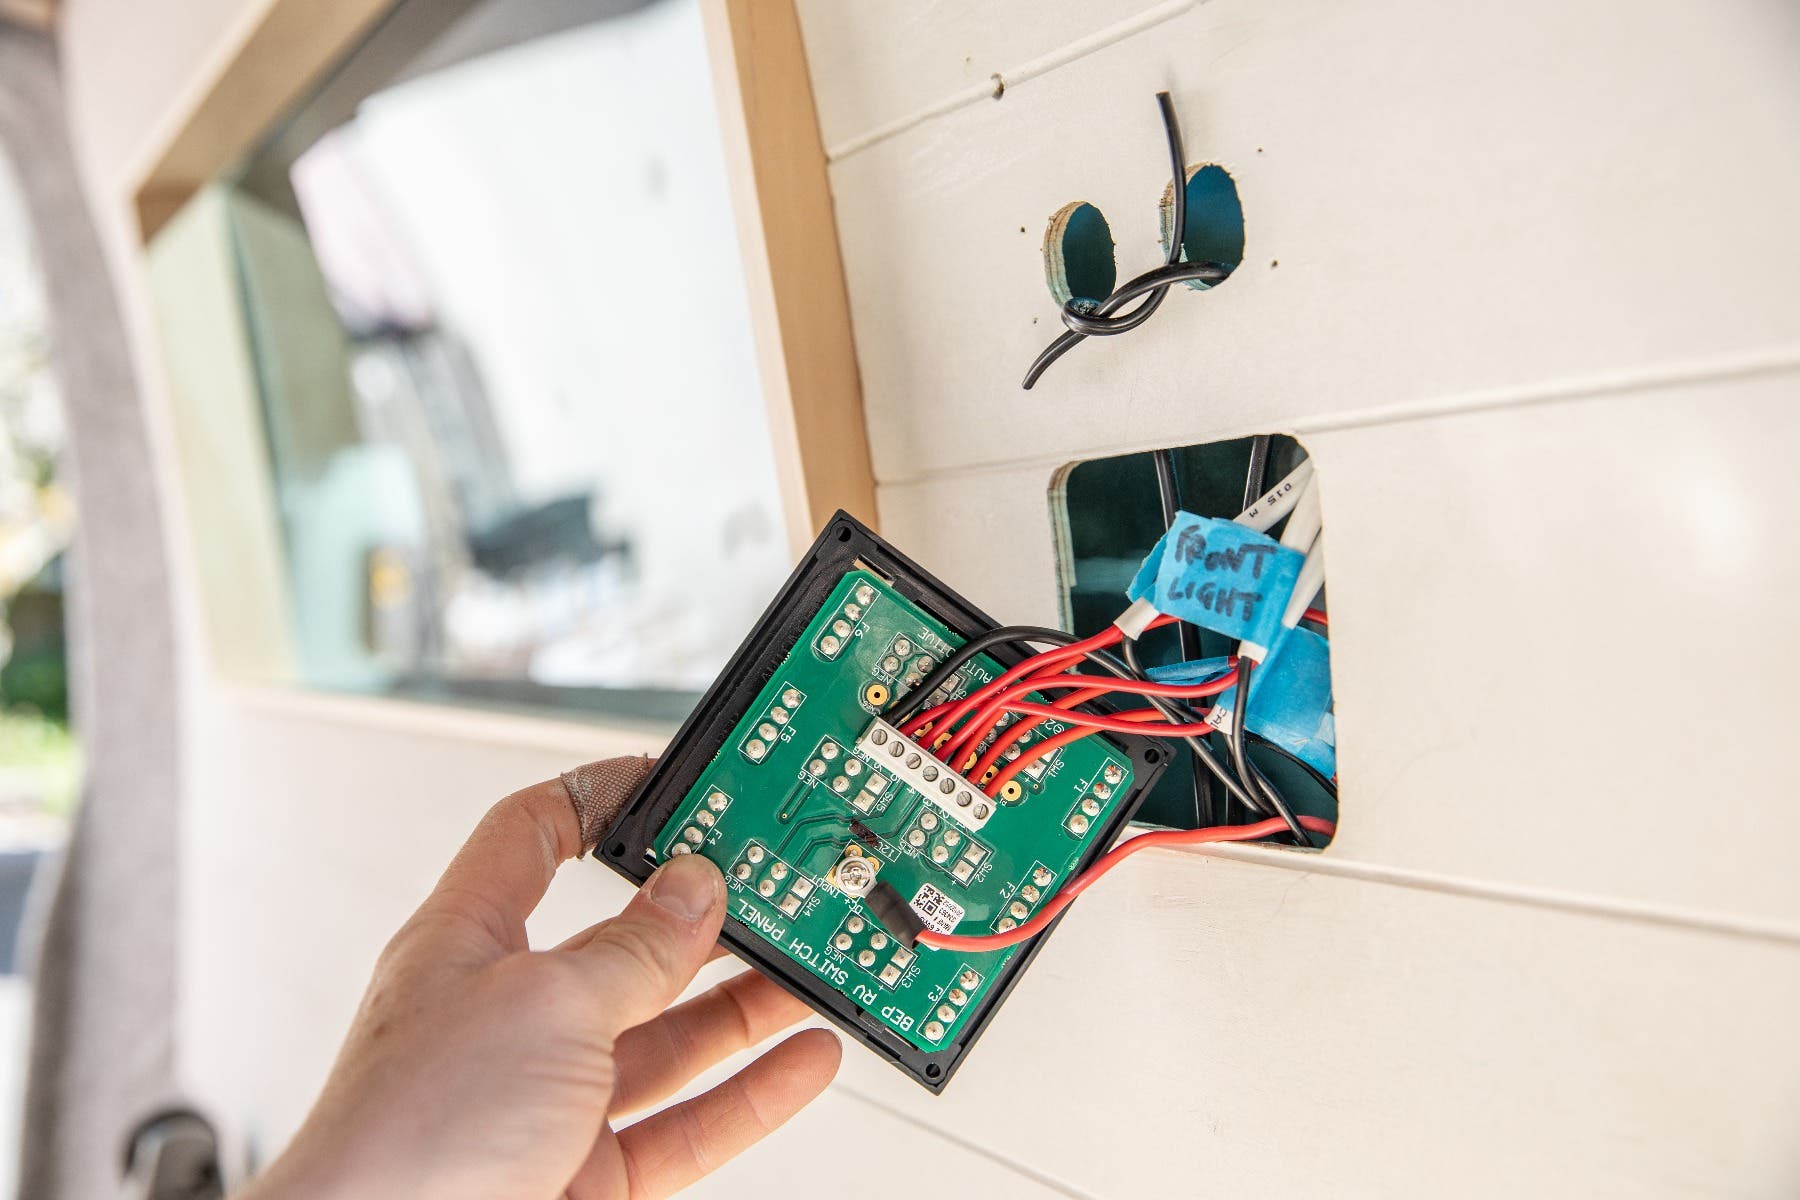
The positive wire for the fridge then comes out of the wall and into the battery compartment, where the wire from the back of the fridge is running to. Simply connect the positive wire from the fridge to the wire coming from the switch and the connection is complete.
As well as the ability to to turn power on/off the 12V components, this switch panel has in-built fuses to protect everything from power surges. It’s a simple matter of inserting the right size fuse (in our case 3A) into the holder and replacing the cover. With that all done, a flick of the switch sends the fridge’s compressor whirring and the cooling begins!
Summary:
Adding a fridge to your campervan or motorhome isn’t as difficult as most think! With only 2 wires and a few electrical connections to be made, installing a fridge in an existing setup won’t take much time at all. For those who take extended trips or live in the camper full time, a fridge really does up the comfort level and off-grid capabilities. With a wide range and expert staff in store, come on in and get your new fridge today!
Do you have any questions?
Please, contact our friendly team on 0800 102041 or email: website@burnsco.co.nz
We provide general information on products, not personal advice. Always seek the help of a relevant tradesperson if you have a technical query.