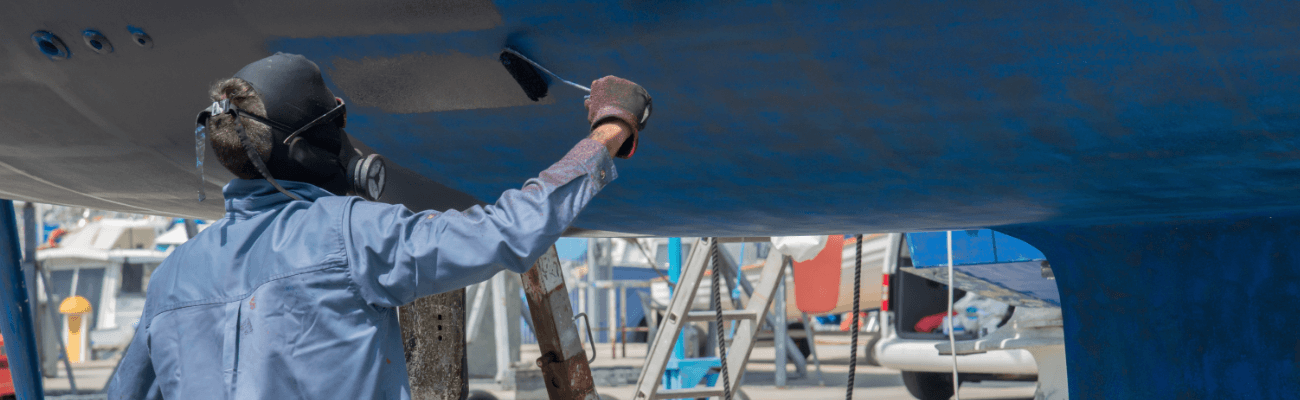
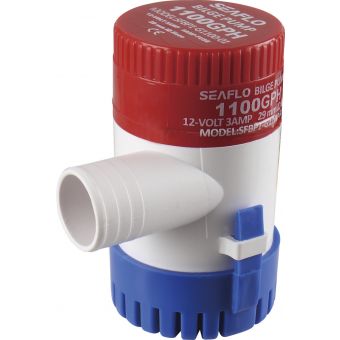
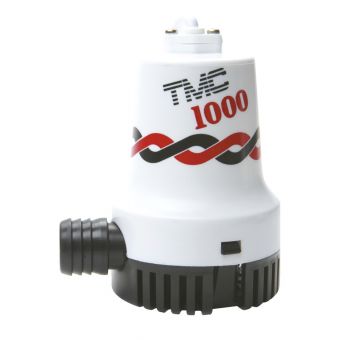
What is a bilge pump?
A bilge pump is a water pump on boats that is used to remove water build up and throw it overboard. They are an important safety feature that most boats should contain.
How to install a bilge pump for your boat:
What you'll need
- A Bilge pump
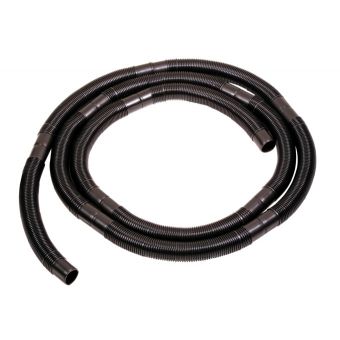
- Discharge hose
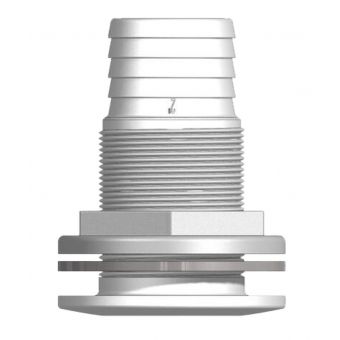
- Thru-hull skin fitting
- Hose clamps
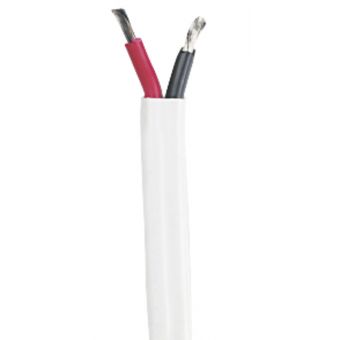
- Electrical wiring
- Cable ties
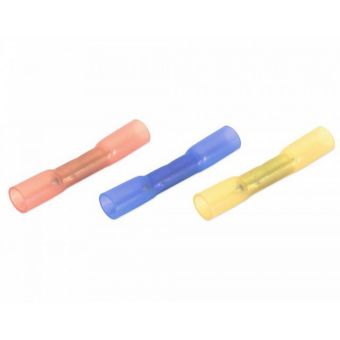
- Wire connectors
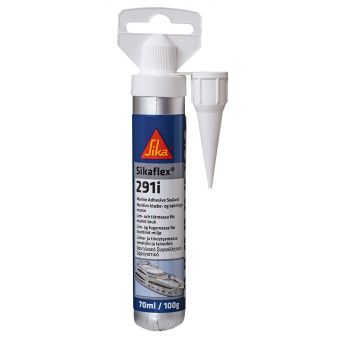
- Sealer (Sikaflex)
- Duralac (if your boat in aluminium)
Required tools
- Heat gun
- Screwdrivers
- Drill and drill bits
- Hole saw
- Crimping tool
Steps
1. Find the best fastening point for your bilge pump. Position as low as possible with the outlet facing the direction that the hose will run.
2. Mount the pump on a plate or piece of wood to avoid drilling into the hull. Drill pilot holes first and then drill your screw holes.
3. Screw the base into position. If your boat is aluminium, ensure you coat the screws with duralac.
4. Clip the bilge pump into its base.
5. Feed the pre measured hose through to the desired location, place a hoseclip on the hose, push the hose onto the pump outlet and tighten the hoseclip onto the pump. Keep the hose as straight as possible to maximise flow rate.
6. Find a location above waterline for the discharge hole.
7. Drill a pilot hole first and then use a hole saw to cut out the hole.
8. Remove the backing nut from the skin fitting, then coat the skin fitting in Sikaflex and install into the hole. Fit the backing nut on the skin fitting inside of the boat.
9. Place a hoseclip on the hose, push the hose over the skin fitting and tighten the hoseclip.
10. Next, wire up the bilge pump by crimping a ring connector to the negative wire. Then attach to the negative terminal on the battery.
11. Slide heatshrink over the pre-measured positive cable that will run from the switch panel to the bilge pump. Then crimp the positive cable from the bilge pump to the pre-measured length on positive cable with a duraseal connector and shrink with a heat gun.
12. Slide the heatshrink over the duraseal connector and shrink with a heat gun to reinforce the seal.
13. Crimp a spade connector to the positive cable then feed the positive cable up the transom, following the bilge hump hose to keep it neat. Then run it up the side of the boat to the switch panel and attach the positive wire to the switch panel.
14. Cable tie wires to keep them neat

Do you have any questions?
Please, contact our friendly team on 0800 102041 or email: website@burnsco.co.nz