


A Guide to Tackling the Deep
Grab a coffee, have a seat and a read through, yes it's a bit of a long one but there is some valuable information below to help make the most out of your next mission!
Embarking on a deep dropping fishing mission is nothing short of exhilarating. The rigging beforehand, getting the boat ready, fuelling up (well that’s not exactly exciting), launching and heading miles and miles offshore with sometimes no land in sight, it’s pretty epic. As with fishing, nothing is ever guaranteed, and with ‘puka fishing this is certainly no exception! However, with some planning, including picking the right weather window, getting the right tools for the job and a bit of know-how, you can make the most of your day and turn it into one you will always remember.
With the massive sizes and strength of some of these deep-sea monsters, these wreckfish present a challenge that beckons all anglers. In this guide, we'll dive into the basics of deep dropping, exploring everything from understanding the habitat and behaviour to the different rods and reels, hooks, rigs, and techniques that can enhance your chances of a successful catch.
What are we targeting?
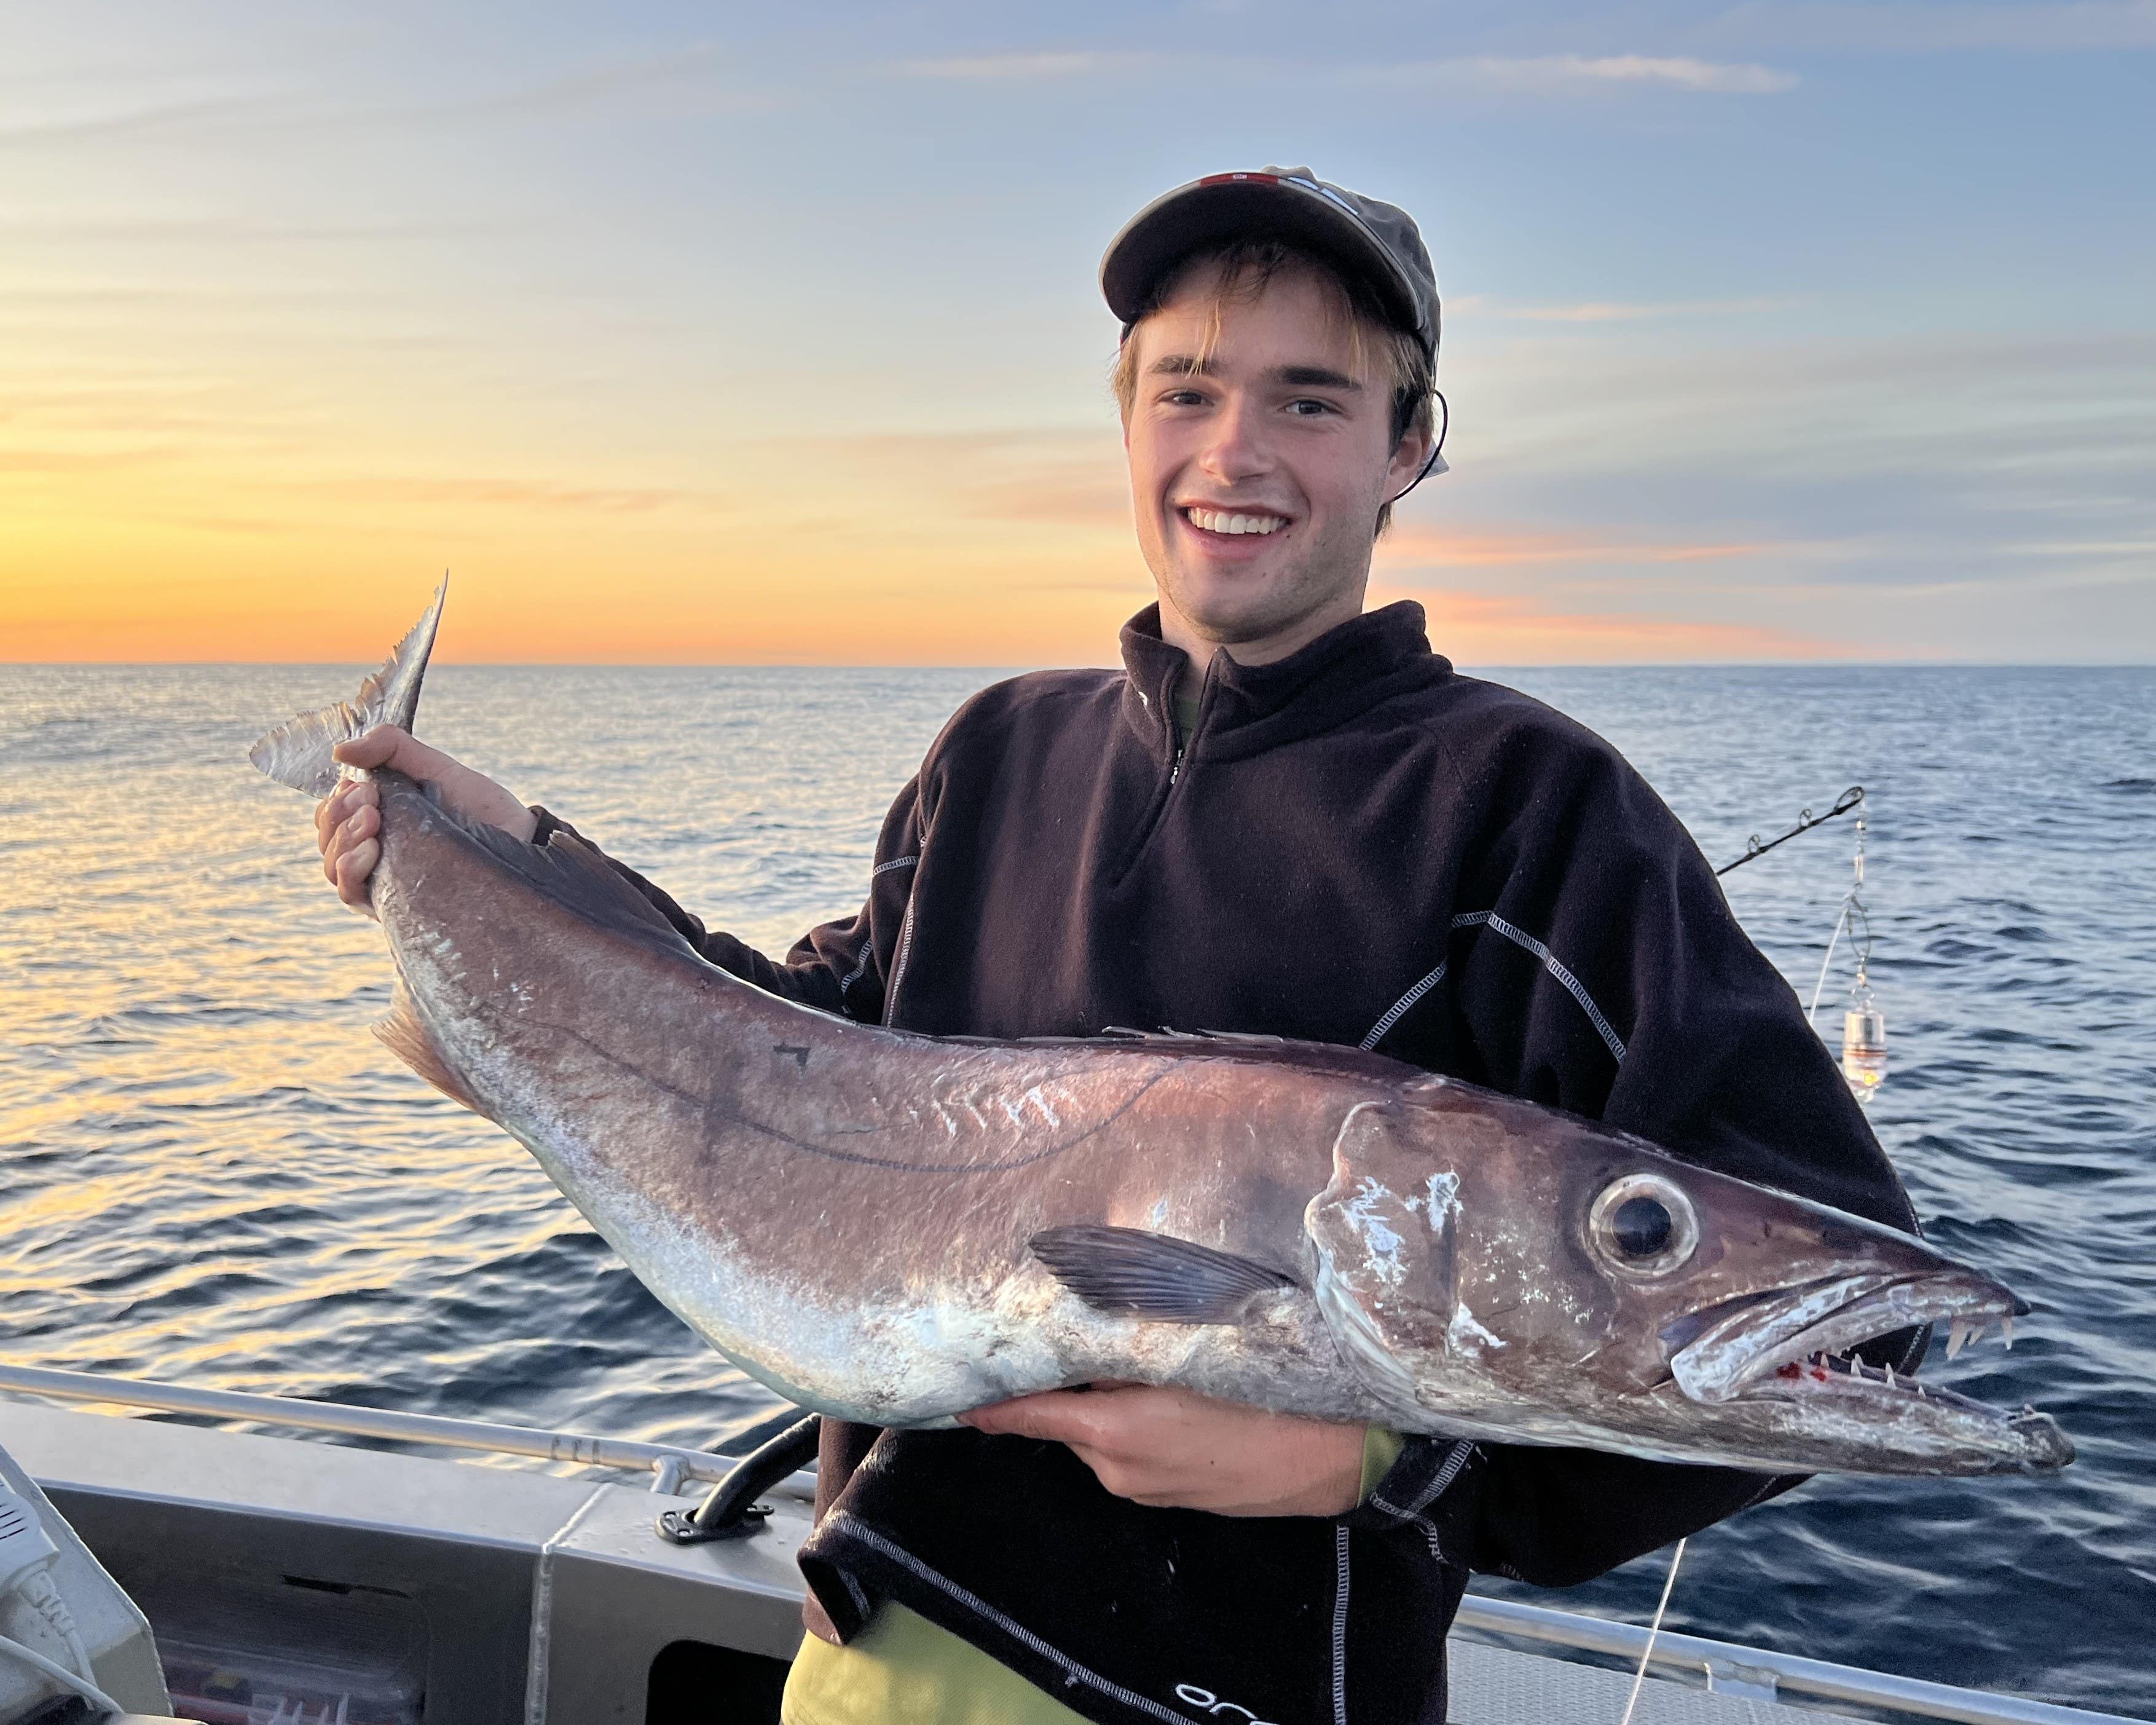
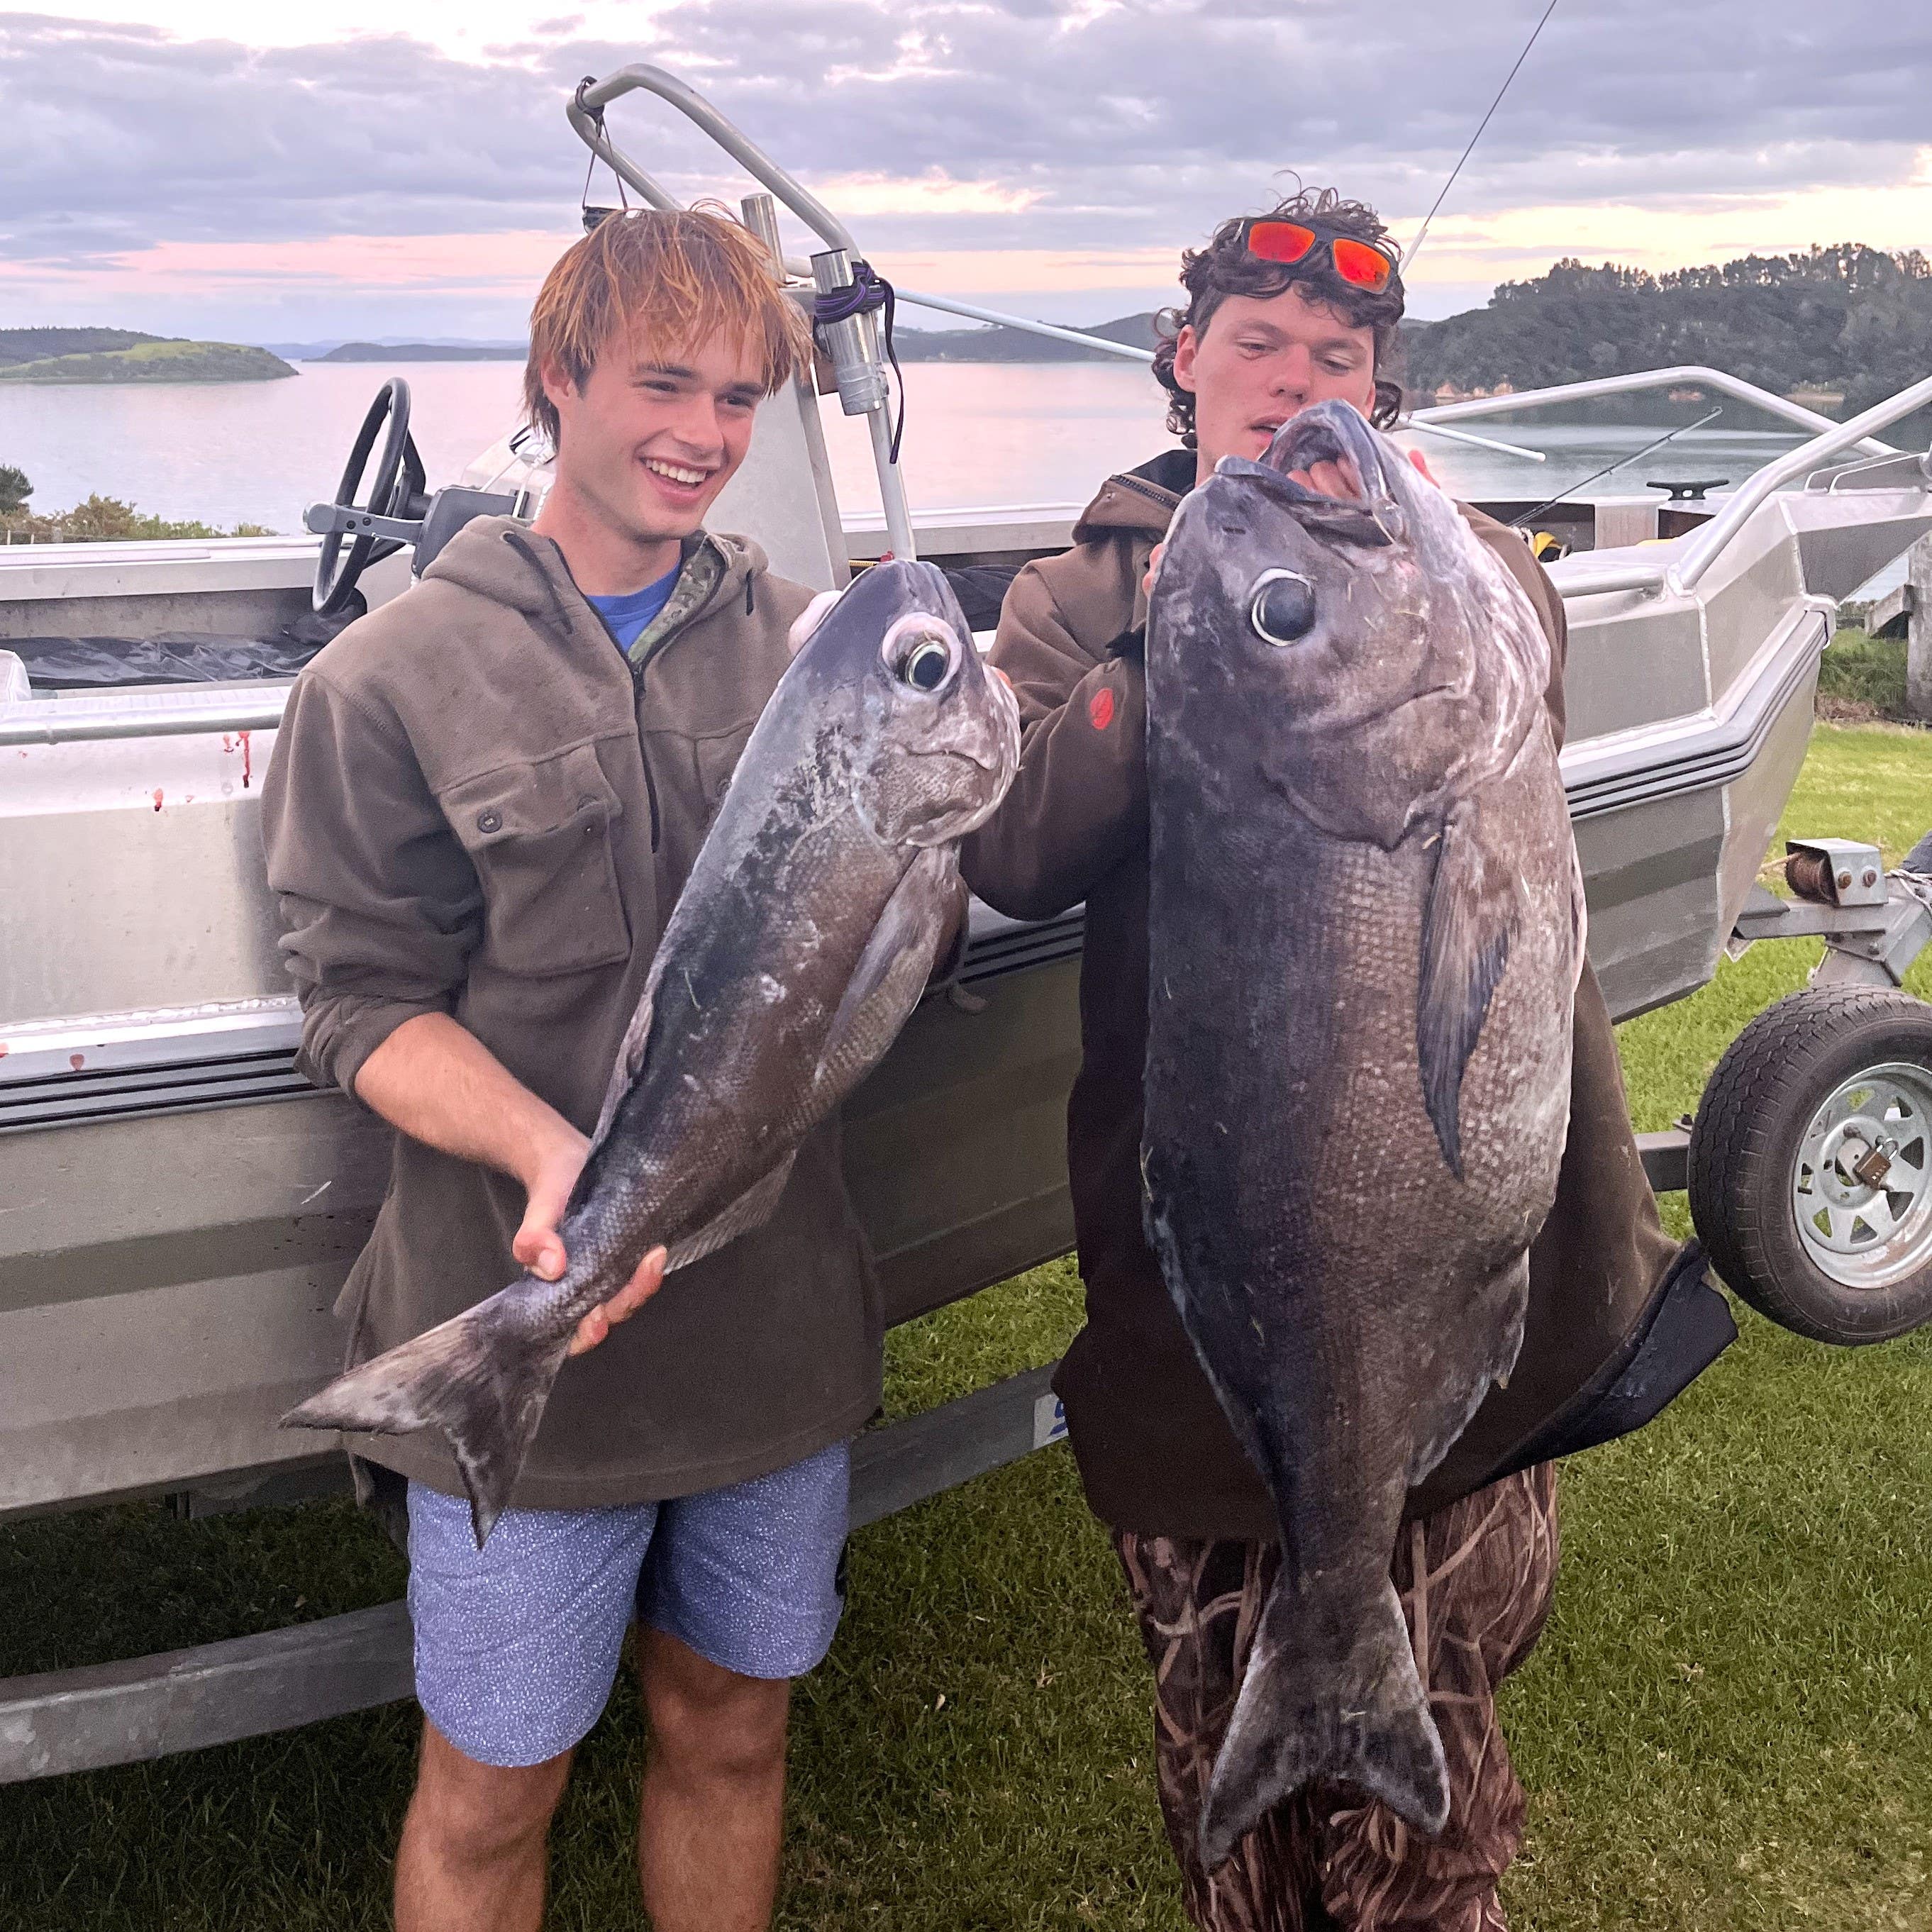
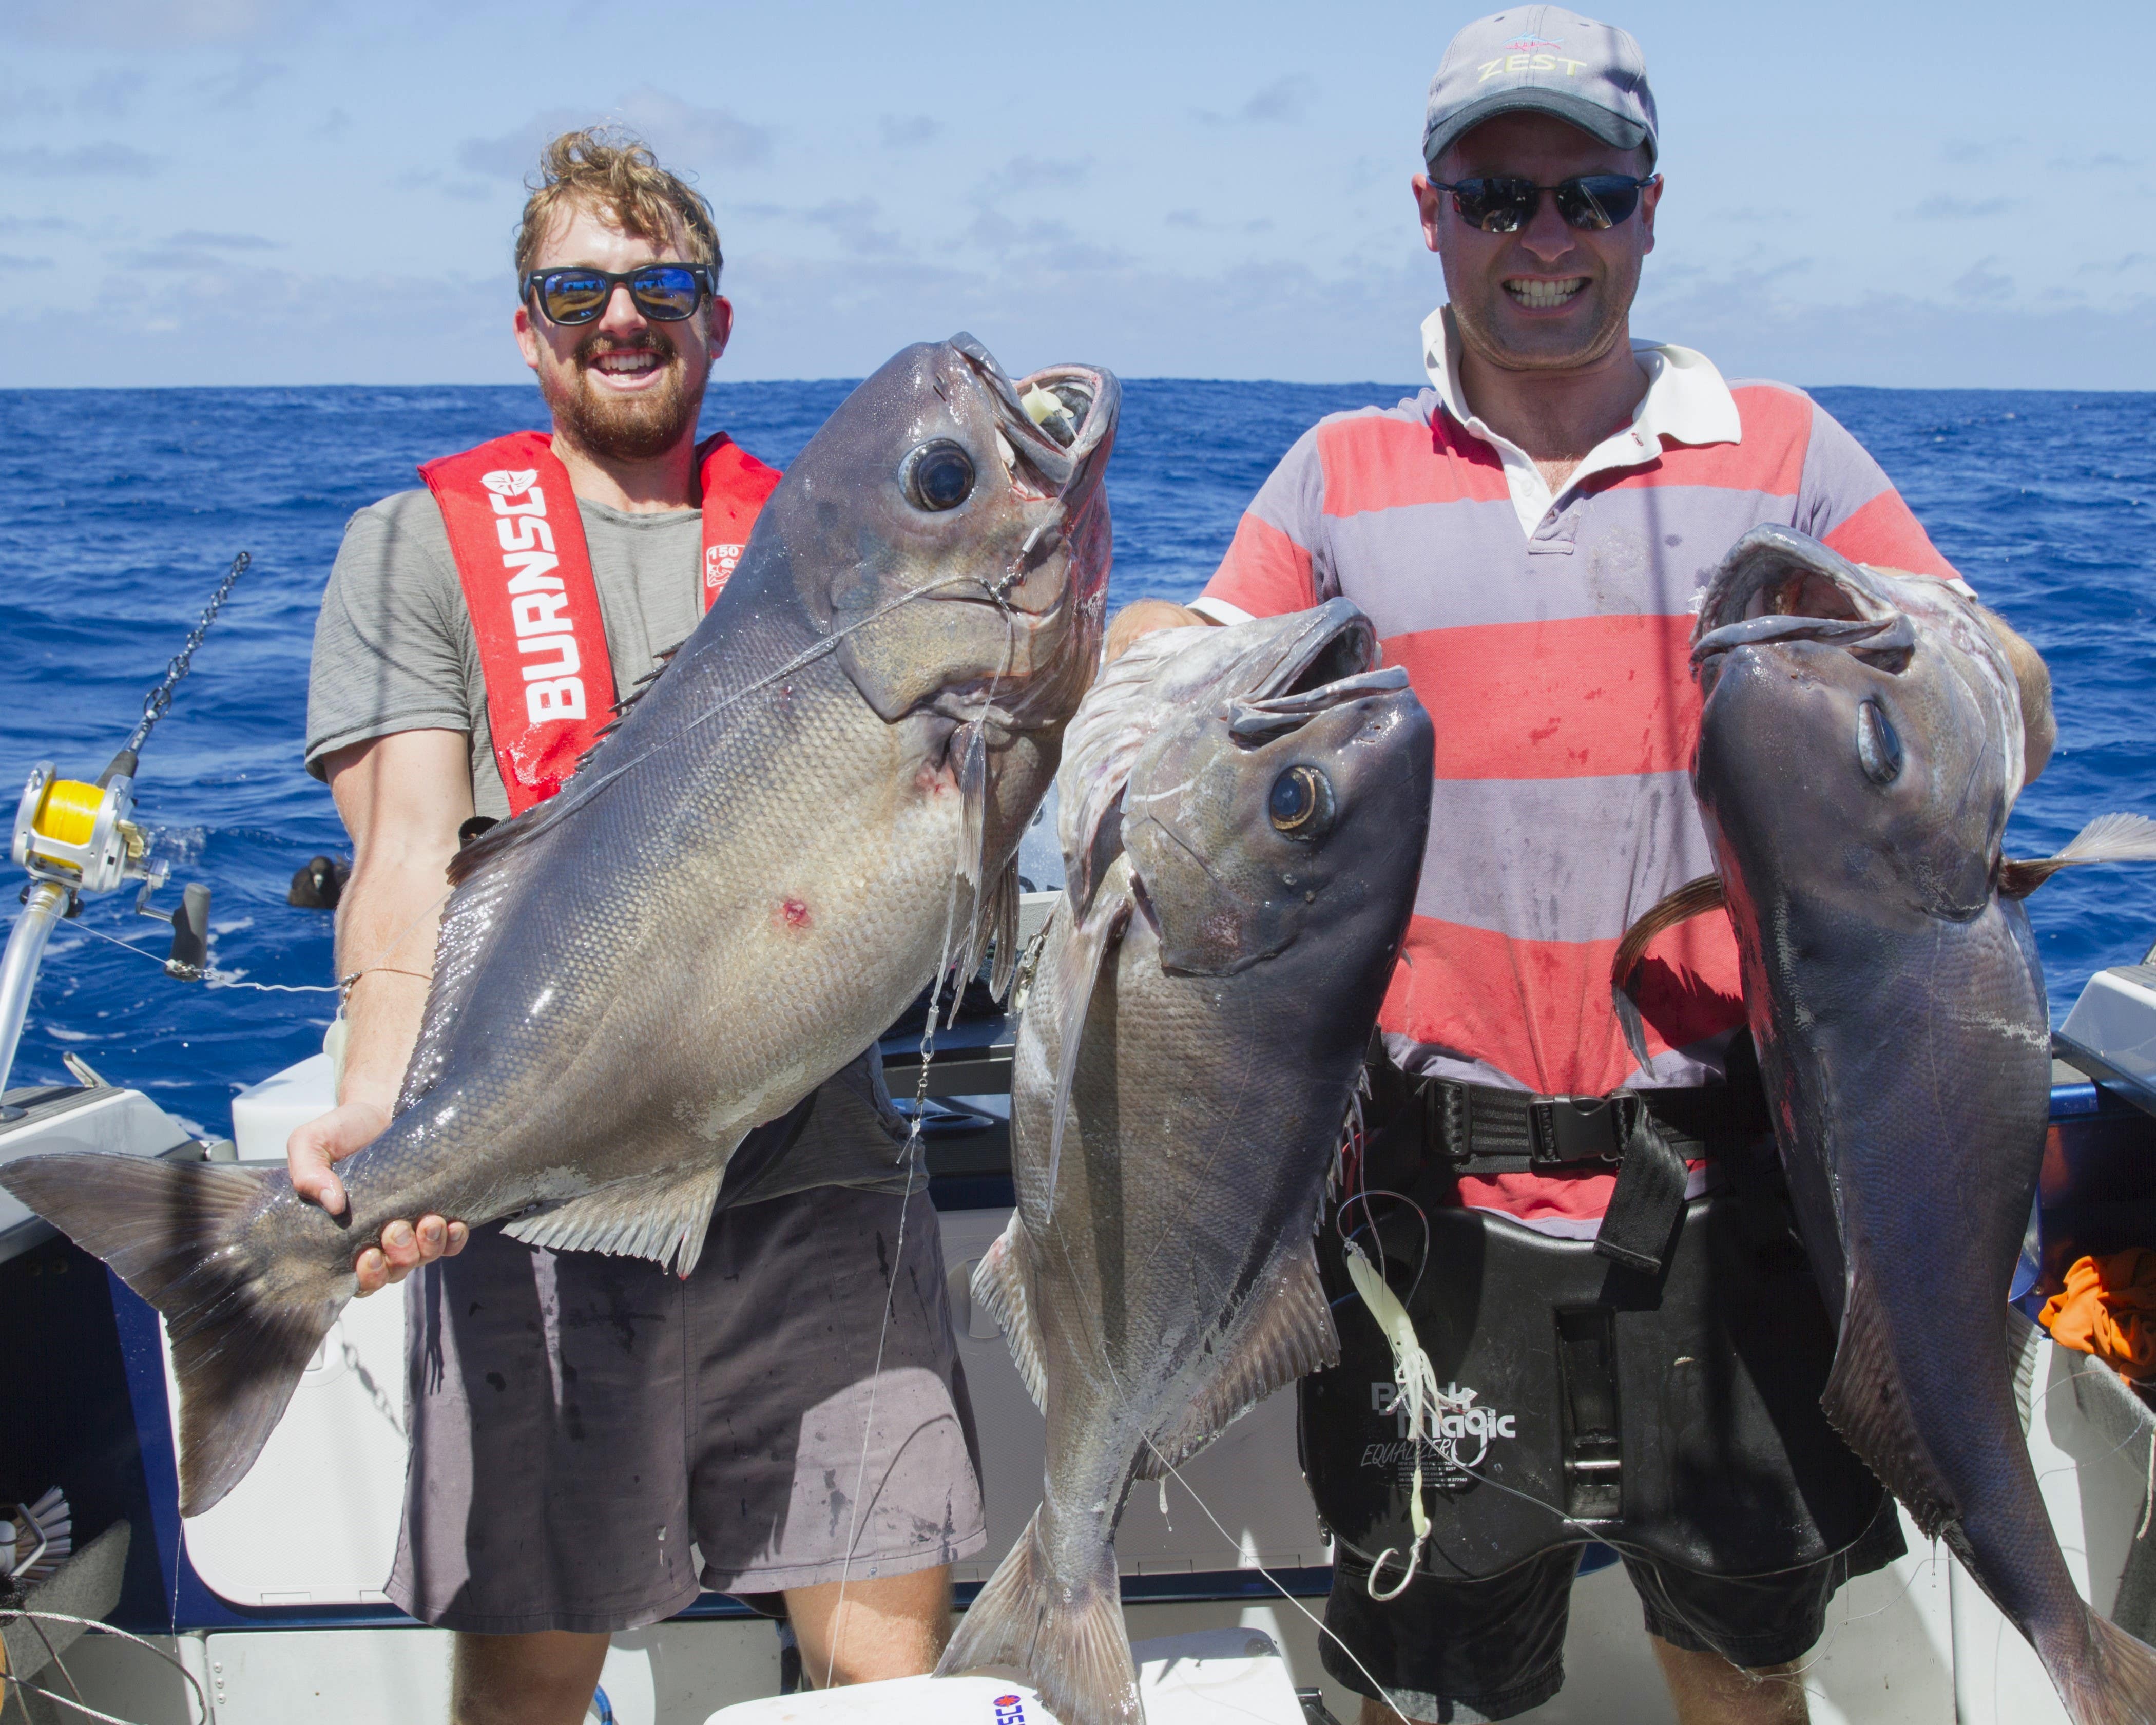
We have mentioned wreckfish and ‘puka fishing above, but realistically, what are we targeting when we go out deep dropping? To answer that, there are 3 main species, bluenose, hapuka and bass. Of course there will be bycatches, this could include gemfish, ling, kingfish (yes they do live that deep), tarakihi and golden snapper however for the purpose of this article we will focus on the main 3.
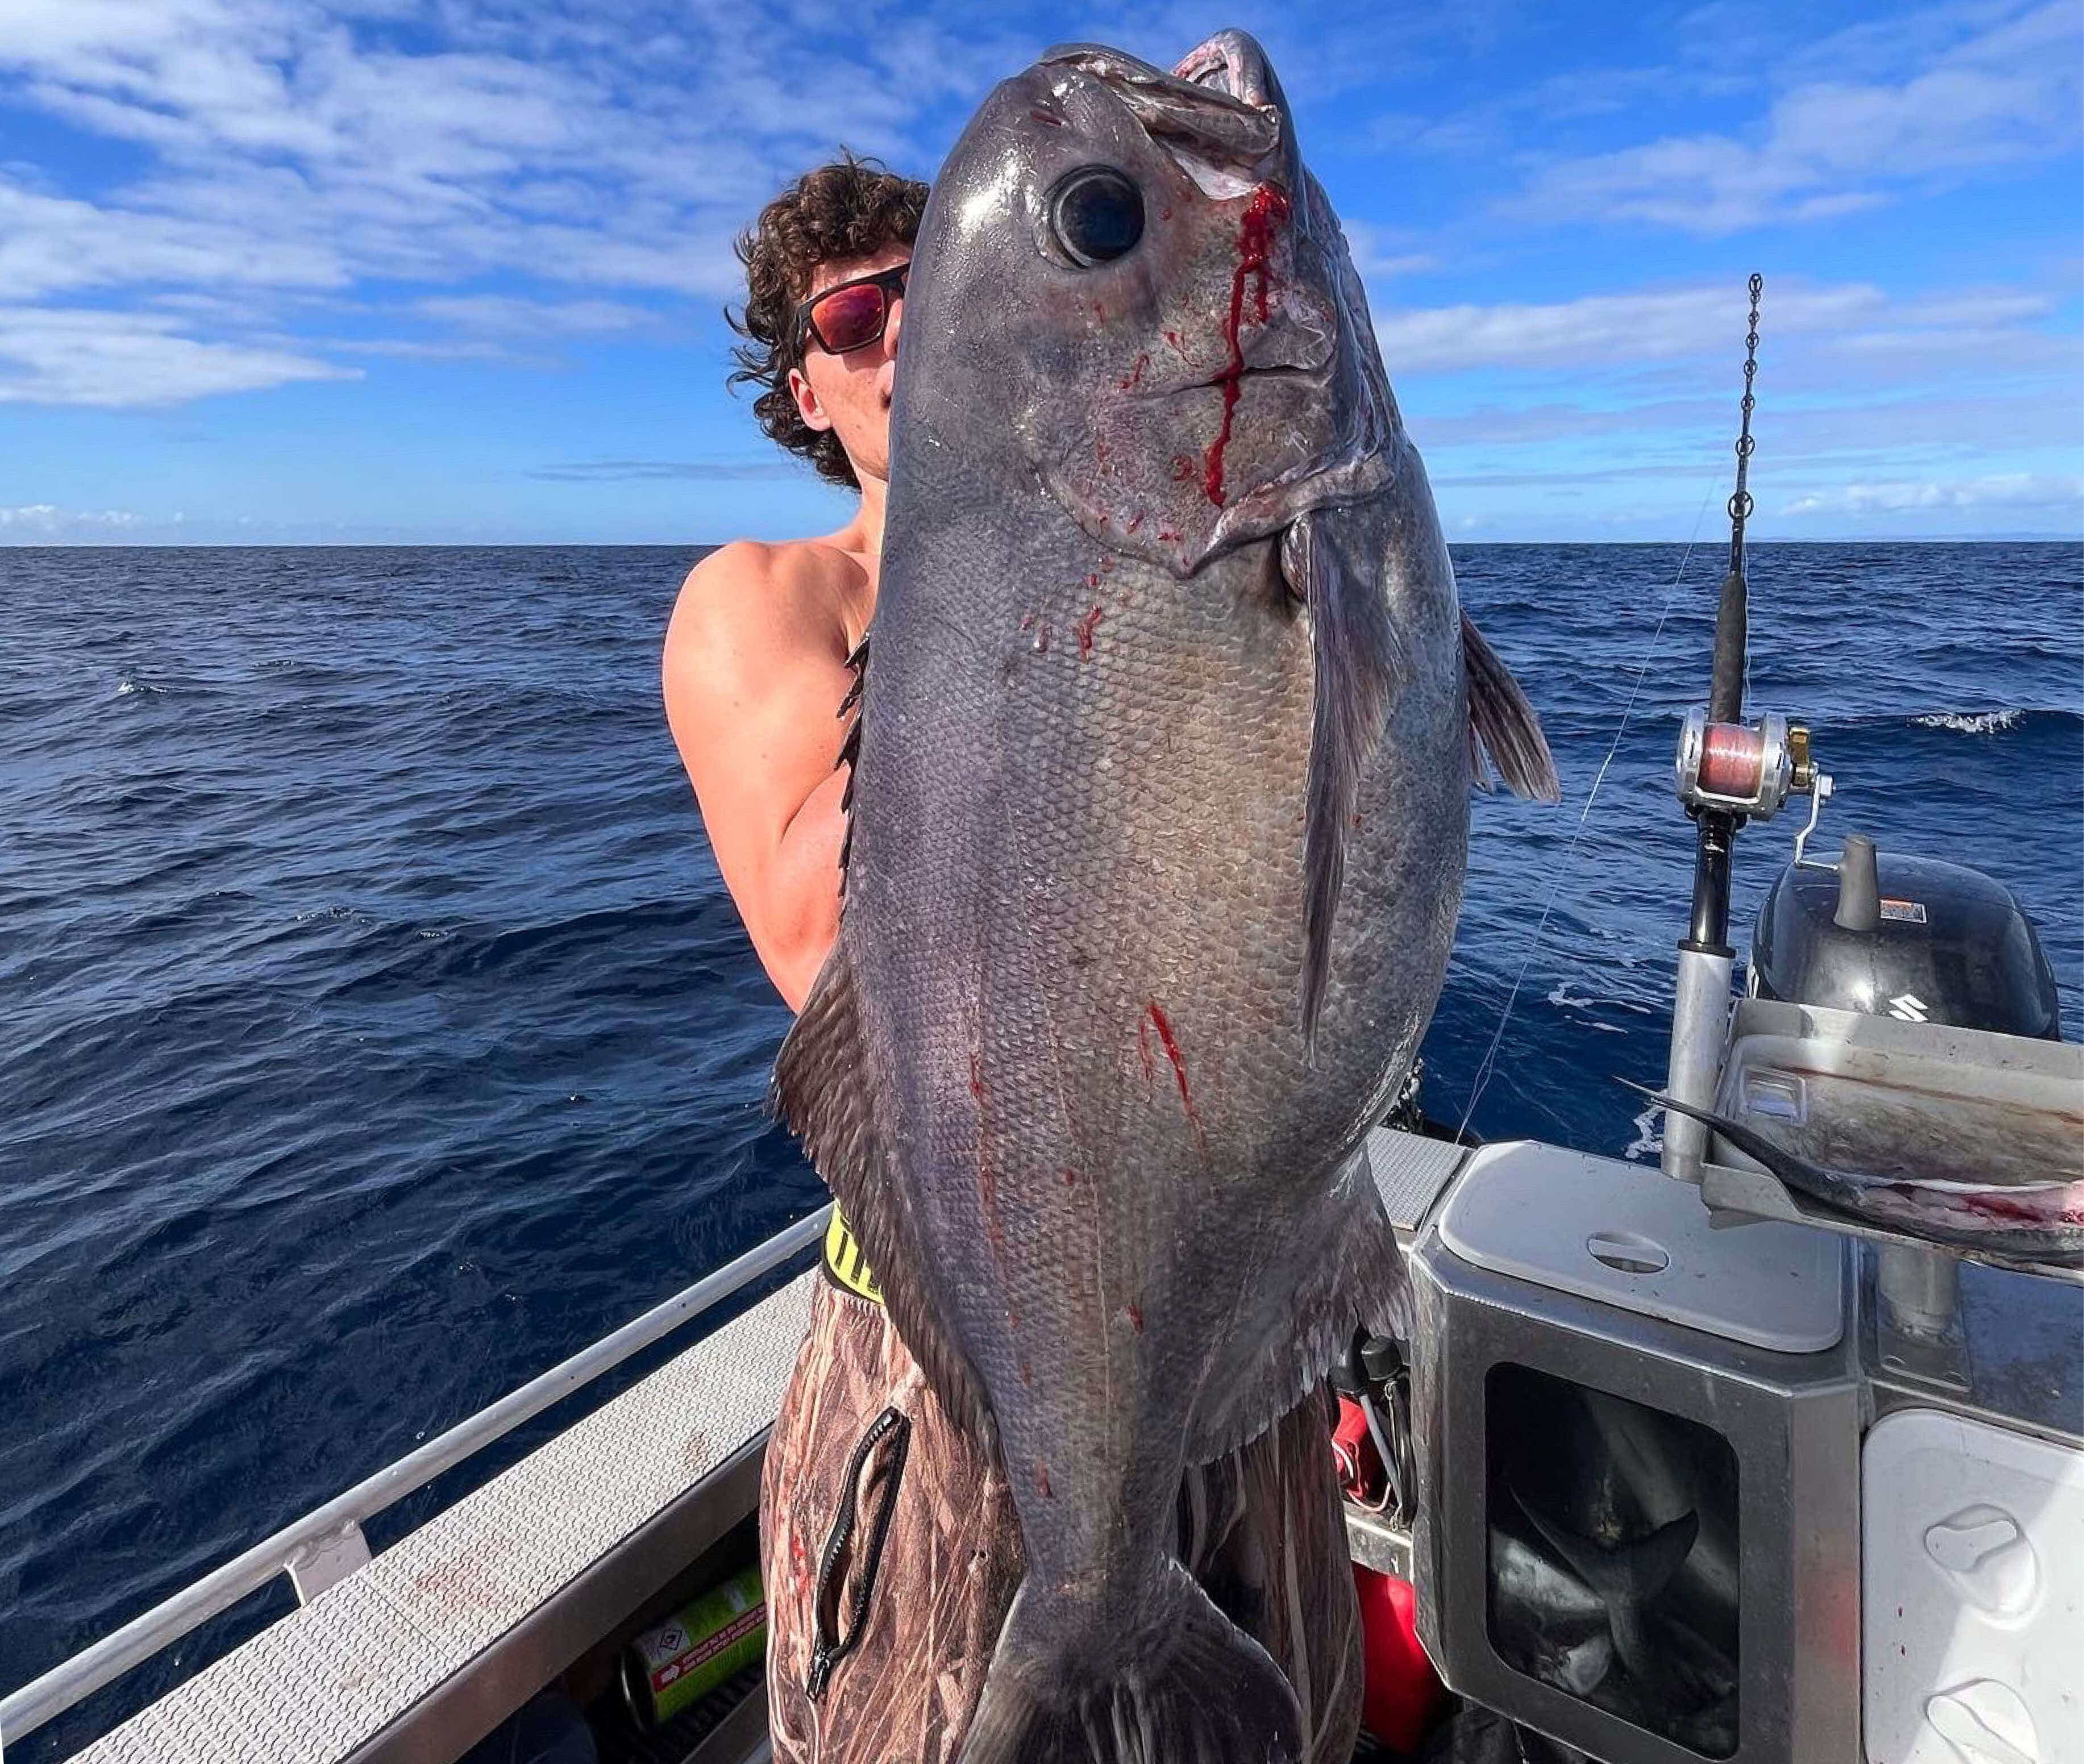
Hapuka
Known scientifically as Polyprion oxygeneios, or colloquially as wreckfish, are native to the waters of New Zealand and Australia, particularly the Tasman Sea. These can grow to astonishing sizes, but more commonly, these specimens range from 5kg to 40kg.
Unlike the following 2 species, these are generally caught the shallowest at between 100-200m of water, however on occasion can be caught shallower and much deeper.
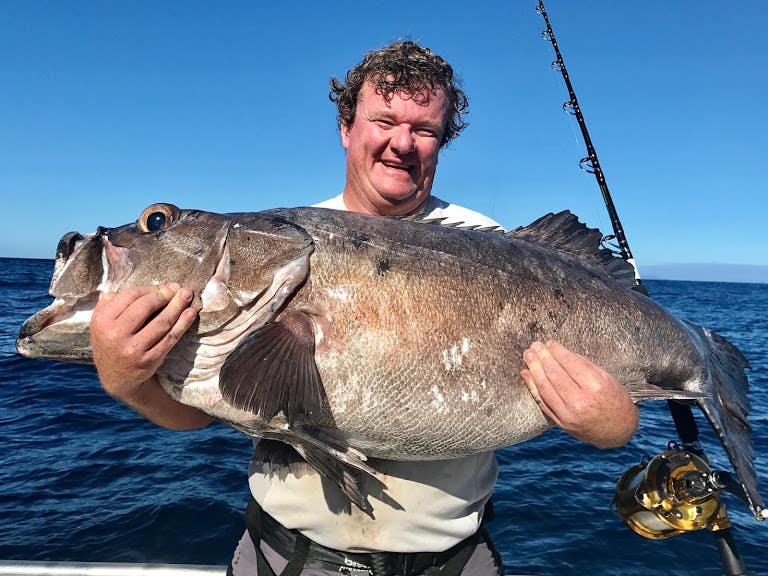
Bluenose
Known as Blue Eye Trevella over the ditch, are one of the tastiest fish in the ocean. They can grow to over 50kg however the most common sizes caught in New Zealand are in the 5-25kg bracket. These fish are usually caught deeper than hapuka with most anglers targeting them in 300-400m.
Bass
The beast of the 3 species. These are often targeted in 200-300m but can be caught well over that. They get big for a reason, their body shape and shear mass make them incredibly powerful and their habitat (which we will get to below) is often rocks and caves which they will try to get back into once hooked, often snapping the line. They can grow upwards of 80kg with the NZ All Tackle record currently sitting at 86.2kg, caught out from the East Coast of NZ on the Ranfurly Banks.
Habitat and Behaviour:
To master the art of deep dropping, one must first understand the fish's habitat and behaviour. These fish are denizens of the deep, they favour a rocky or rugged seabed, often congregating around underwater structures such as seamounts, ridges, and pinnacles. These structures serve as ideal hunting grounds as they prey on smaller fish and crustaceans that inhabit these environments.
Occasionally, you will be able to target these species out in the open, often over mud on the ocean floor, however there will still be structure in some way, shape, or form. This may not be rocks and reefs (what we generally know ‘structure’ as), however it will often be on drop offs or a depth change in the ocean floor, usually these are substantial, i.e 200-250 metres on the edge of a canyon, however they could be as gradual as a 270-250 metre depth change. Having a good chart plotter and sounder will help you find these types of structures.
Seasonality and Weather Conditions:
While deep dropping is possible all year round, seasonal variations and weather conditions can influence their behaviour and feeding patterns. In general, the winter months tend to be more productive for this method of fishing, as they head into shallower waters in search of food and to spawn. However, they can still be caught during other seasons, particularly in regions with stable water temperatures and currents.
In terms of time of day, this isn’t really a factor however, time of the tide is. It is more common to target these fish during a slack tide i.e 1 hour before and after the low or high tide.
Essential Gear and Equipment:
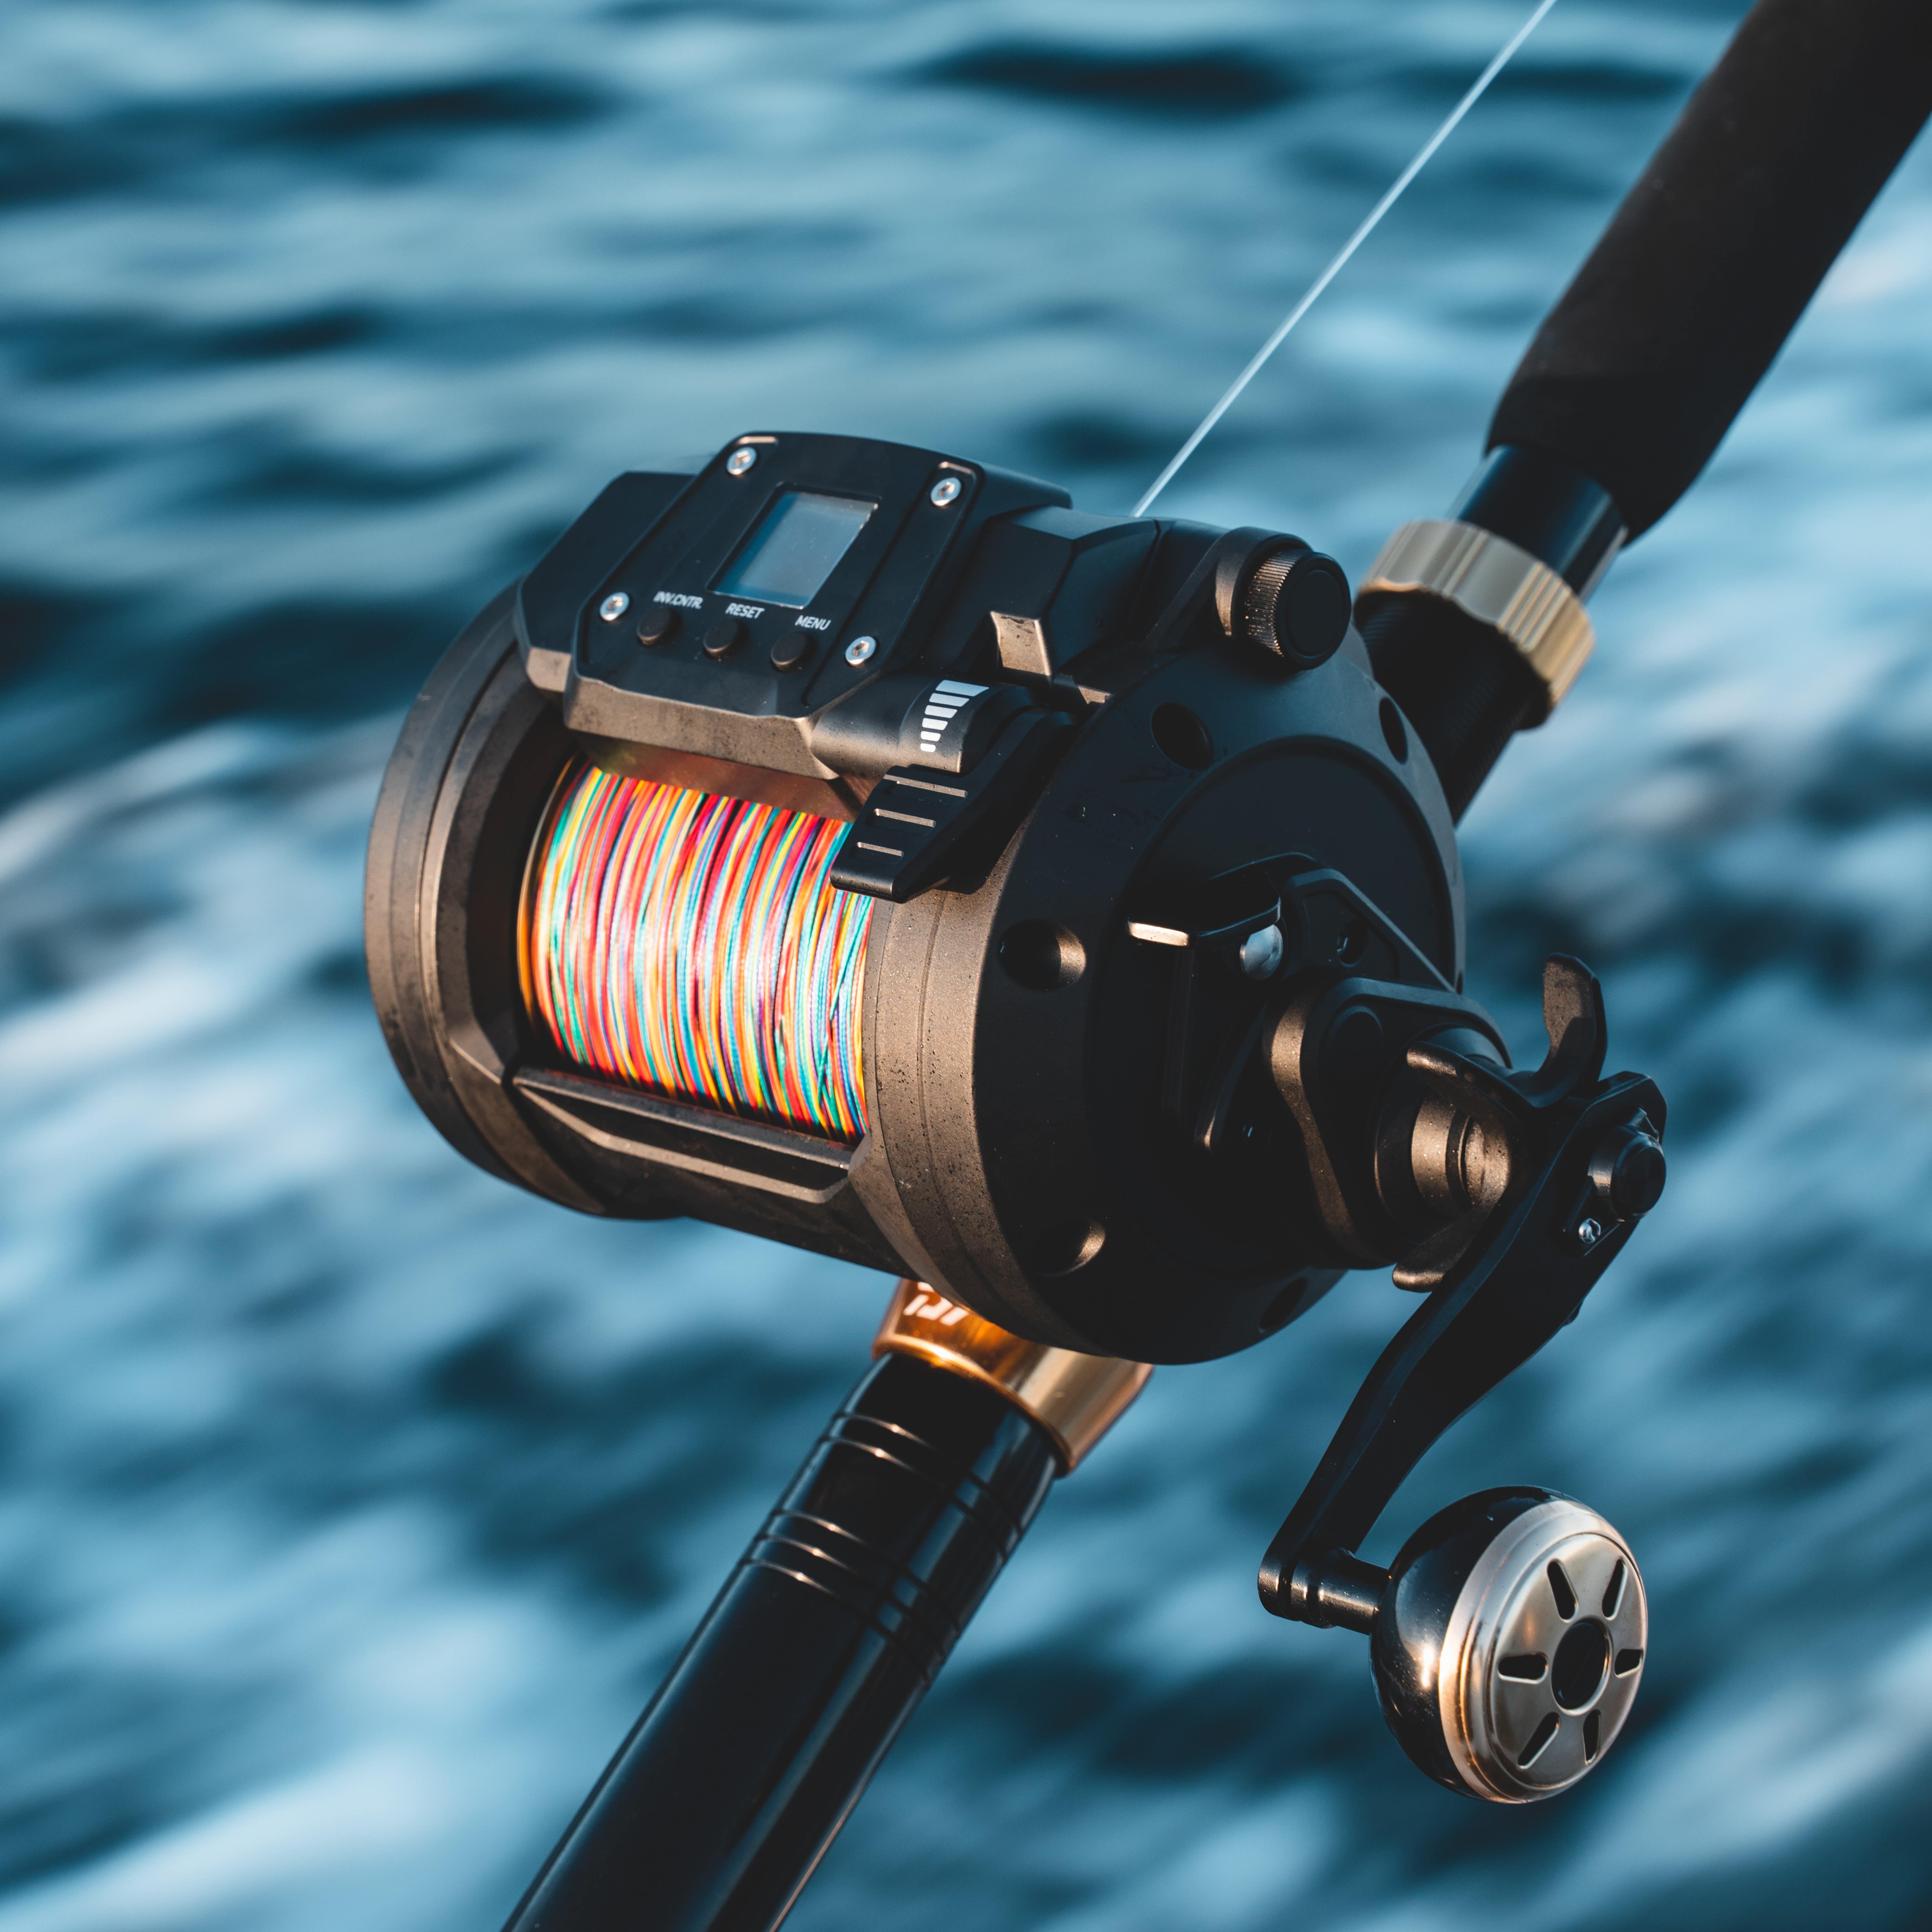
Equipping yourself with the right gear is paramount. There is no point spending a bunch of money on fuel, bait, food, hooks, sinkers for a day’s fishing and then dropping your rig down with a snapper rod, you will lose time after time and you are not only wasting your gear, but potentially killing fish for no reason. Heavy-duty fishing rods and reels with a large line capacity (over 500m) that are capable of withstanding heavy drag are a prerequisite. We would highly recommend an overhead reel for this type of fishing, not only will you get a greater line capacity on an overhead, but also the gear ratio is ideal. When winding up from 150m+ you want a lower gear ratio – ideally 3.5-4.5:1, overhead reels are generally sitting in this range, whereas spin reels are normally sitting in 5.5-6.5:1, making it harder for the angler to get a turn of the handle when cranking from the deep, especially under load. Brands like Shimano, Daiwa, Penn, and Okuma offer a range of quality options at varying prices. Reels such as the Shimano Beastmaster, Tyrnos 30 or TLD30/50, Penn Squall 30 or 50, and Daiwa Tanacom 1000 are renowned for their durability, smooth drag systems, and reliability in challenging marine environments.
Electric vs Manual Reels
There is a bunch of information online from the different brands regarding specifications and technology of their reels, so we won’t go in depth into all of that. What we will talk about is the differences between the two and a few things you will need to consider.
Firstly, there’s the cost. A decent manual wind deep drop reel will set you back anywhere from $250-$500. While you can get them higher and lower, this is where the majority of the reels sit in the market. A decent electric reel will set you back $900 - $1800. In addition to the reel, you will also need a battery, either by way of portable which attaches to your rod, or a port on your boat or extra battery to attach the leads of the reel to. We would not recommend running directly to your boat starter battery as you do not want to drain this.
Secondly, how often are you going to go deep dropping. If you really want to find fish and do lots of drops on likely looking areas, it can be pretty taxing on the body having to manually wind up from the deep dozens of times a day. With an electric reel, you can drop on all those places and give it 1 or 2 drifts, easily pushing the lever up and retrieving your line when you are finished. This saves time and the exertion on your body.
Thirdly, rod selection. If using a manual reel you can use either a bent butt or a straight butt rod. With electric reels while you can fish straight butt rods, they work better with bent butt rods so if you were hoping to purchase an electric reel and don’t have a bent butt rod, consider getting as a rod and reel combo.
The next most vital piece of kit is braid. While you can use monofilament line, because you are fishing so deep it is difficult to feel any bites or the bottom due to the stretch in the line. Braid is considerably thinner with little to no stretch. In some cases it is a third of the diameter of monofilament with the same breaking strain. We recommend 80lb braid as you never know when that fish of a lifetime is going to bite, and you do not want to be under gunned!
Multi-coloured braid is exactly what the name suggests, it usually has different colours measured out every 10 metres. This is especially good for deep dropping as it allows you to accurately count how many colours have come off the reel so you can accurately measure how deep your bait is. i.e if you are fishing in 200 metres of water, simply count off 20 colours and you will be on the bottom!

Bait and Rigs:
Normally these deep-sea fish are opportunistic predators, feeding on a diverse array of prey including fish, squid, and crustaceans. To entice them, employ various bait options ranging from fresh or live fish such as mackerel, skipjack tuna strips, barracuda, or squid to large metal jigs designed to mimic their natural prey.
As you are dropping these baits down so far, it is best to make them as streamlined as possible, tapering the hook end of the bait will help get them down efficiently and effectively.
Regarding rigs, you can either make them yourself or purchase a pre-made one from the shop. If making them yourself, we suggest using a minimum of 300lb trace as your backbone, this extra weight line makes the rig stiffer, so bait is better presented, as well as adding extra abrasion resistance for when you hook a large fish.
In terms of attaching the branched trace for your hooks, you have a few different options.
Firstly, you can use an inline crane swivel crimping system which includes a swivel, this goes directly over your trace and when crimped allows for a branch trace to be attached at 90 degrees. You can then crimp your branch traces to the swivel at one end and hook at the other end having your rig look like the picture on the right.


Alternatively, you can use a dropper loop knot to effectively do the same thing, while this way may be stronger, the inline crimp with swivel allows your bait to spin around your backbone line freely, reducing the chance of tangles.
We recommend 12/0-18/0 offset circle hooks for deep dropping. As you are down very deep, it is quite hard to strike the fish effectively. A circle hook will roll into the corner of the fish’s mouth giving you a solid and reliable hook up more often.
If you can’t be bothered tying or making your own traces, that’s absolutely fine! Pre-made traces are relatively inexpensive, are rigged well and often come with extra additions like lumo tube and water activated lights. As you can imagine, it’s pretty dark down there so having something additional that’s a bit different and more visual for the fish, the better!
Hot Tip: Live jack mackerel make great baits and often catch the biggest fish of the day!

Sinkers
You are going to be fishing well over 100m deep and you want your line angle as vertical as possible for as long as possible. Sinker weight is going to vary depending on the wind, current and depth you are fishing, due to this we recommend 24, 32 or 40oz sinkers. Attach these to the bottom of your trace with a short piece of 30lb line, this acts as a breakaway.
There are 2 reasons for this:
1- 30lb is heavy enough to drop and retrieve and bounce along the bottom as you are drifting without getting busted off, however, if you do get your sinker stuck, a bit of pressure and this will break, enabling you to get your rig back. Trying to break either 80lb braid or 300lb leader while you are stuck in the bottom is not fun, so this short piece will undoubtedly save your back, or your rod!
2- If you do hook a large fish and it does manage to break your main line, the 30lb trace attached to your sinker will break relatively easily, enabling the fish to swim around and hopefully throw the trace shortly afterwards, if the sinker is still attached the chances of it throwing the trace is greatly reduced.
Experimenting with different bait presentations and depths can increase your chances of success so after a few drifts if you’re not getting bites, try something or somewhere else!
Let’s go Fishing:
Right, so we are at the grounds, we have found a likely spot on our sounder, either over a reef structure or on the edge of a canyon, what do we do now?
Firstly, find out where you are going to drift.
Because you are fishing so deep, the chances of anchoring are near impossible, so 999 times out 1000 you will be drifting. Trying to figure out the wind and current could be tricky so it pays to set up a dummy drift, paying close attention to your track on your sounder. You want to start either on the top of the reef and drift off the side of it, or, start on the edge of the reef and drift onto the top of it (remember to wind up as you are drifting onto the reef or you will get hooked in the bottom)
Once you have got your drift line sorted then it’s bombs away! Drop your sinker over the side along with your trace, put the reel in free spool and watch it disappear to the depths, remembering to count the colours of braid as it’s going off your spool (we spoke about that earlier)
Once you have the required colours out and your sinker is on the bottom, it is important to keep in touch with sea floor, you do not want lots of loose line out as it will drag the sinker causing it to get stuck. You also don’t want to be fishing 40 metres above the bottom either (unless that’s where the fish are showing on your sounder!). You will need to be persistent with winding up slightly or letting the sinker down so that it is just touching base on the sea floor.
As you drift with the wind or current your line angle will inevitably increase, heading back behind the boat. The most effective way to stop this is by having someone on the helm putting the boat into reverse, slowing the drift and holding stationary over the fishing area.
This reversing also keeps the line as vertical as possible which allows better contact of your baits on the sea floor, reducing your chances of the sinker getting caught in the rocks and crevasses below.
Once you get a bite you will often feel the typical tap tap or even better, weight coming onto the rod immediately. It is important not to yank back on the rod when this happens. The most effective way of ‘striking’ your fish is to gradually turn the handle and just watch and feel the rod load up, normally line will start coming off the reel as the fish tries to make its escape. The hook up is quite often where the fish is won or lost. As you are dealing with fish who live in caves, crevasses, and structural nightmares for anglers, it is important to try and get as much line back as early as possible. This involves pushing that drag lever a bit higher, maybe putting your thumb on the spool to increase the tension, but mostly it involves pumping the rod and winding (even if it is a half wind) to try and turn the fish’s head. If you have someone driving the boat, having them reverse so your line is directly vertical also helps.
Once you have them hooked and they are up off the bottom, just settle in for the long wind to the top. As the fish comes to the surface their swim bladders generally inflate and often they could come up 20-50m away from you. Make sure you keep tension on the line during this time in case the hook falls out and have your gaff ready to help lift them onboard.
Mastering the art of deep dropping requires a combination of skill, strategy, and patience so by having everything ready and in arms reach (like in the gunwhales or bait board) will help you when it comes to crunch time.
Deep dropping is an exhilarating journey into the depths of the ocean's mysteries, offering anglers the opportunity to test their skills against some of the ocean's biggest fish. Armed with the right gear, techniques, and knowledge, you can embark on a deep dropping fishing expedition that promises excitement, comradery, and the chance to reel in a trophy catch of a lifetime. So, pack your gear, prepare for the ultimate angling challenge, and point the nose towards the horizon and the deep in pursuit of the 3 mighty wreckfish.
Do you have any questions?
Please, contact our friendly team on 0800 102041 or email: website@burnsco.co.nz
Contact us, today!
We provide general information on products, not personal advice. Always seek the help of a relevant tradesperson if you have a technical query.


